Everything you need to install and configure before writing your first line of code — your code editor, terminal, Node.js, and essential tools explained step by step.
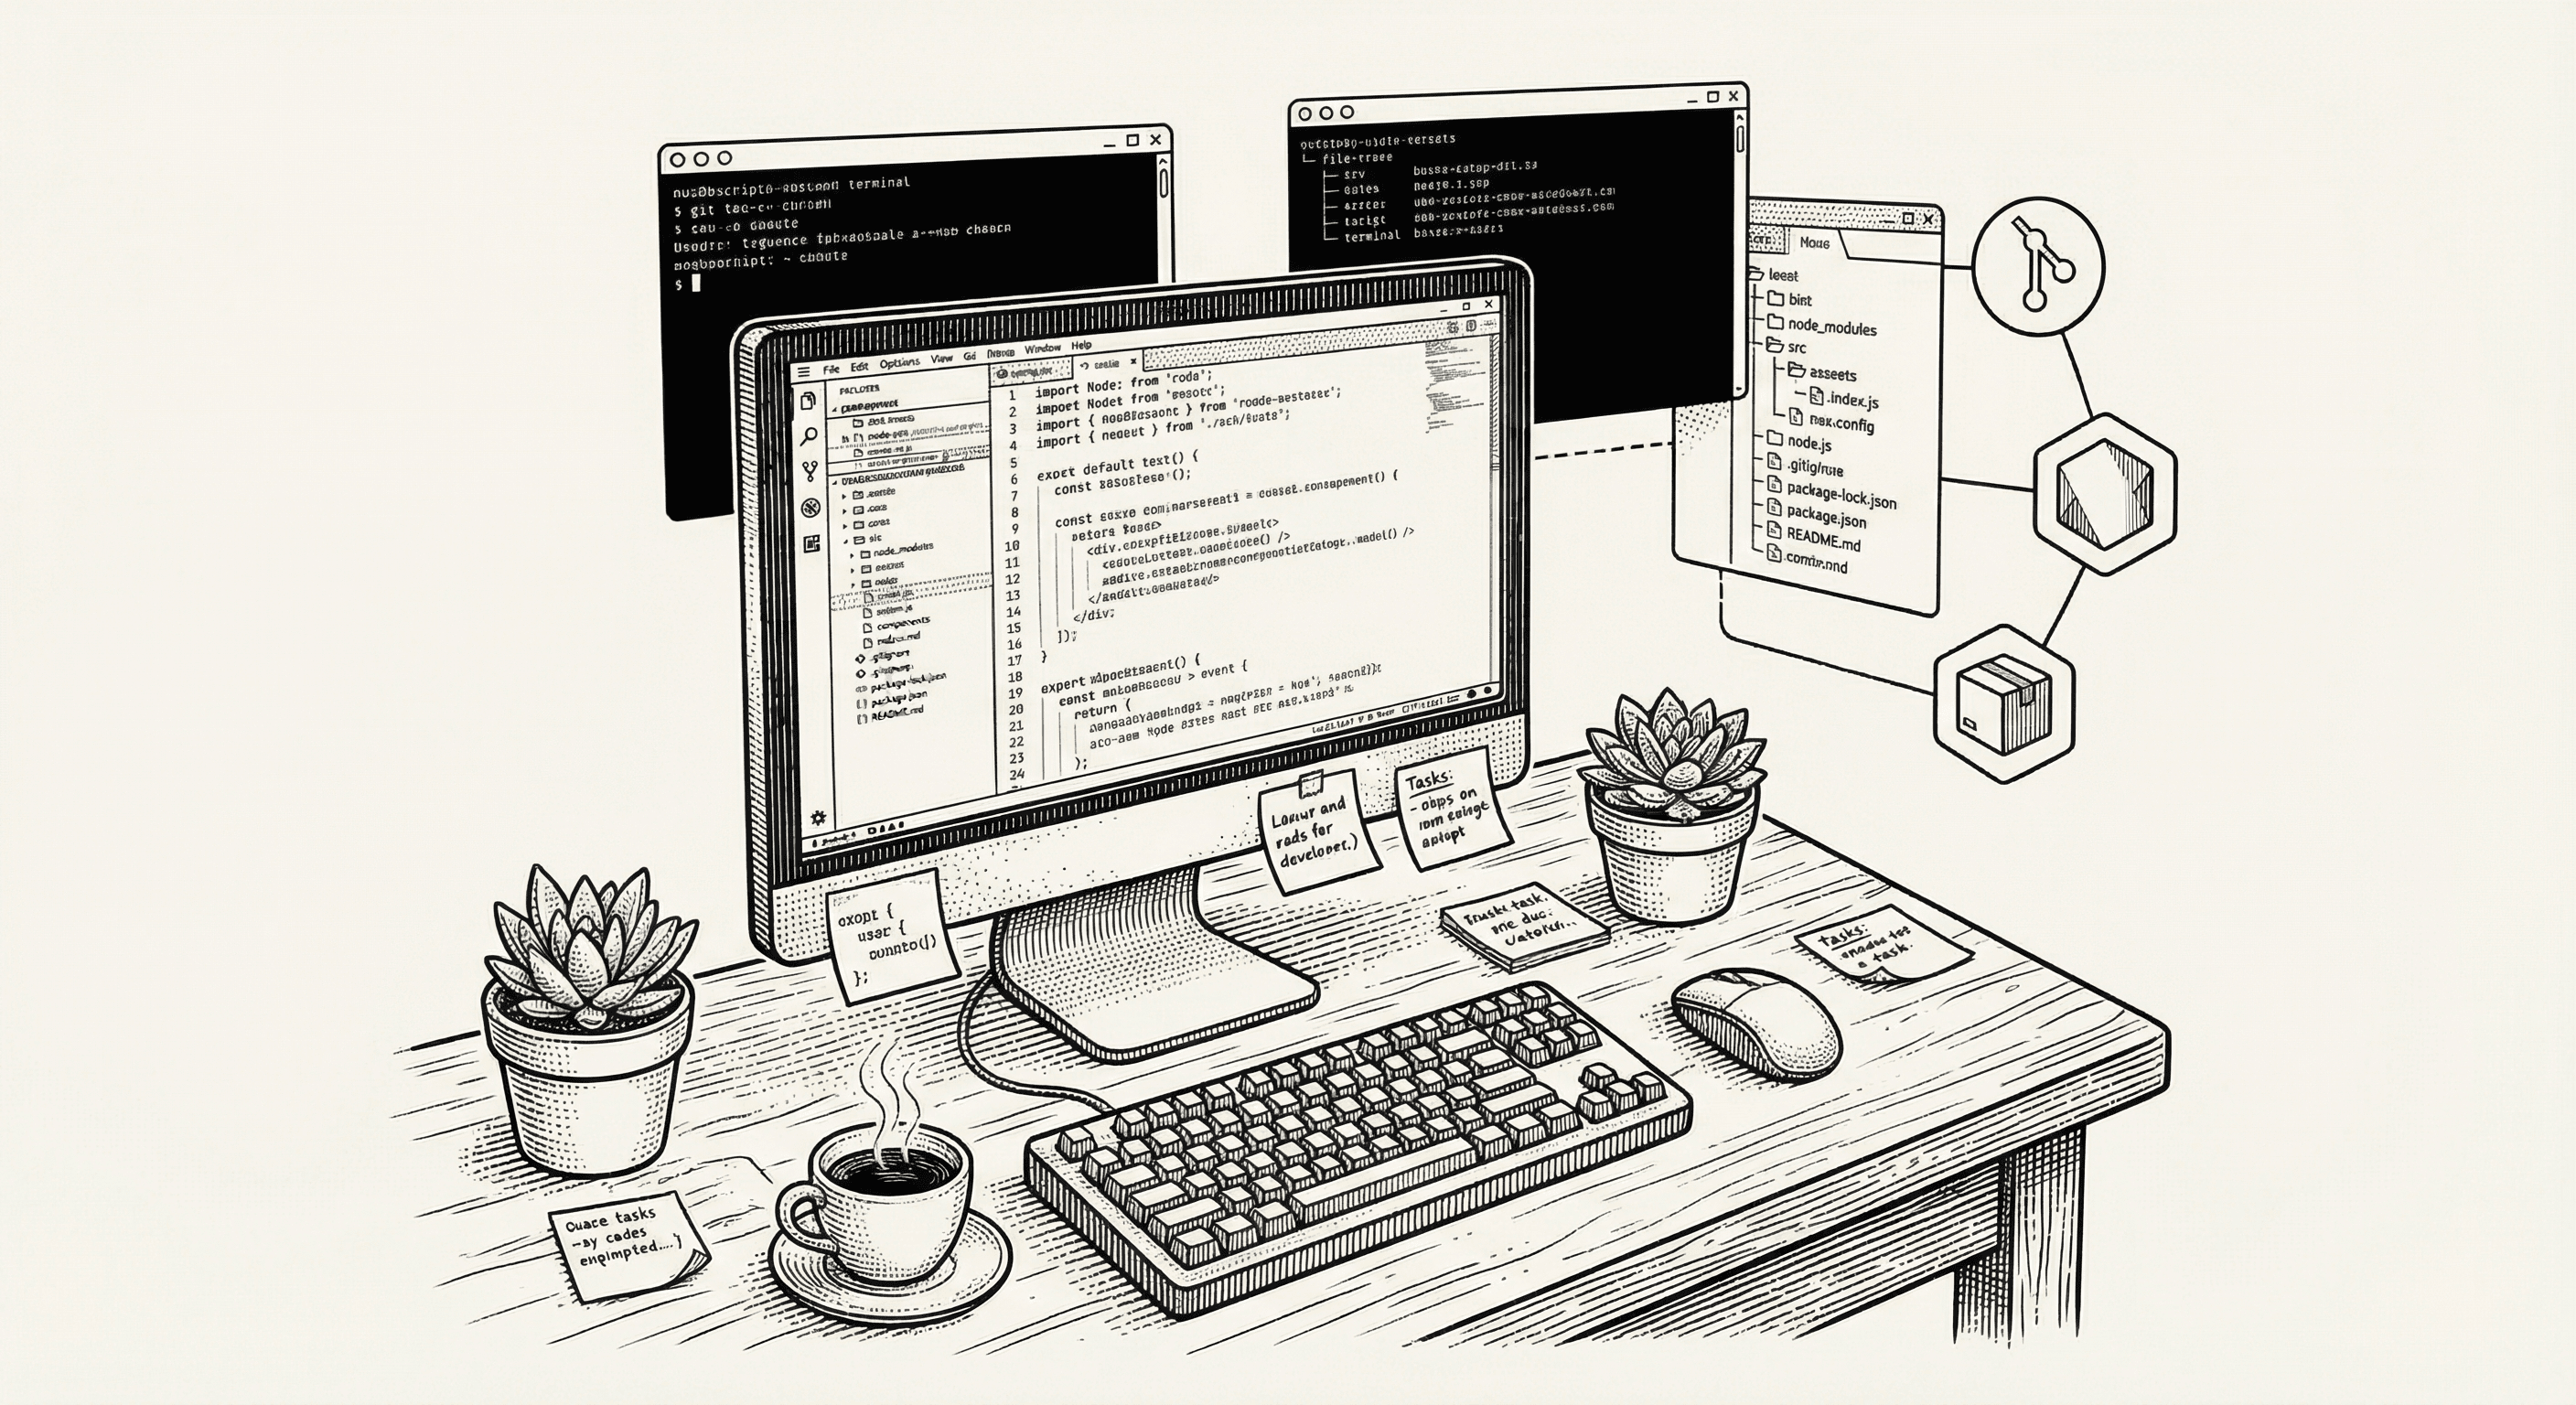
Before you can start building your product, you need to set up your workspace. Think of it like preparing a kitchen before cooking — you need the right tools in the right places before you can create anything.
This guide walks you through everything you need to install and configure, step by step. Even if you have never used a terminal or code editor before, you will be up and running by the end of this article.
Here is the complete list of what we will set up:
It sounds like a lot, but each piece takes just a few minutes to set up, and most of them you will only need to install once.
A code editor is your primary tool — it is where you will spend most of your time. Think of it as a specialized word processor designed for code, with features like syntax highlighting (color-coding different parts of your code), auto-completion, and error detection.
We recommend Visual Studio Code (VS Code), which is free, widely used, and has excellent support for every technology in your stack.
To install:
Helpful extensions to install:
Once VS Code is open, click the Extensions icon in the left sidebar (it looks like four squares) and search for these:
These extensions are optional but highly recommended. They act like spell-check and grammar tools for your code.
Node.js is the runtime environment that executes JavaScript code outside of a browser. Your development server, your build process, and many of your tools all run on Node.js.
To install:
To verify the installation, open your terminal and type:
node --version
You should see a version number like v20.x.x. If you see an error, try restarting your terminal or computer.
What is npm?
When you install Node.js, you also get npm (Node Package Manager) automatically. npm is the tool that downloads and manages the thousands of open-source libraries your project depends on. You will use it frequently to install new tools and run development scripts.
Verify npm is installed:
npm --version
The terminal (also called the command line or console) is a text-based interface for interacting with your computer. Instead of clicking icons and menus, you type commands and press Enter.
If you have never used a terminal before, it might feel intimidating. That is completely normal. Here are the essential commands you will use daily:
| Command | What it does | Example |
|---|---|---|
cd |
Change directory (navigate to a folder) | cd my-project |
ls |
List files in the current directory | ls |
pwd |
Print working directory (show where you are) | pwd |
mkdir |
Make a new directory (folder) | mkdir new-folder |
npm install |
Install project dependencies | npm install |
npm run dev |
Start the development server | npm run dev |
Where to find the terminal:
Ctrl+` (backtick) to toggle the built-in terminalThe VS Code terminal is usually the most convenient option because it opens right in your code editor and starts in your project directory.
Git is a version control system — it tracks every change you make to your code, lets you undo mistakes, and makes it safe to experiment. Think of it as an unlimited "undo" history for your entire project.
Git also enables collaboration. If you ever work with a developer or co-founder, Git lets multiple people work on the same codebase without overwriting each other's changes.
To install:
git --version in your terminal. If it is not installed, you will be prompted to install the Xcode Command Line Tools, which includes Git.Essential Git concepts:
You do not need to memorize these now. We will cover Git workflows in more detail as you start building.
Now let us bring everything together and get your project running.
Clone the repository:
git clone <your-repository-url>
cd <your-project-name>
Replace <your-repository-url> with the actual URL of your project repository.
Install dependencies:
npm install
This command reads the list of libraries your project needs (defined in a file called package.json) and downloads all of them. It may take a minute or two the first time.
Set up environment variables:
cp .env.example .env.local
This creates a local copy of the environment configuration file. Environment variables are settings that differ between environments (development vs. production) — things like database URLs, API keys, and feature flags. We will cover these in detail in a future article.
Start the development server:
npm run dev
Visit http://localhost:3000 in your browser. If everything is set up correctly, you should see your application running locally.
What is localhost? When you run npm run dev, your computer starts a local web server. localhost is a special address that means "this computer." Port 3000 is the door through which your development server communicates. So localhost:3000 means "the application running on this computer, on port 3000."
Once your project is set up, you will see a lot of files and folders. Here is a quick guide to the most important ones:
| Path | Purpose |
|---|---|
app/ |
Your application's pages and routes |
components/ |
Reusable interface components (buttons, forms, cards) |
content/ |
Content files like blog posts |
lib/ |
Shared utilities, configurations, and integrations |
public/ |
Static files that are served as-is (images, icons, fonts) |
tests/ |
Automated tests to ensure your application works correctly |
.env.local |
Your local environment variables (never committed to Git) |
package.json |
Your project's dependency list and scripts |
You do not need to understand every file right away. As you build features, you will naturally become familiar with the parts of the codebase you work with.
Once everything is set up, your daily workflow will look something like this:
npm run devThe instant feedback loop — make a change, see it immediately — is one of the best parts of web development. It lets you experiment freely and iterate quickly.
"Command not found" errors: This usually means the tool is not installed or your terminal cannot find it. Try closing and reopening your terminal, or restarting your computer.
"Port already in use" errors: This means another process is using port 3000. You can either stop the other process or start your development server on a different port: npm run dev -- --port 3001.
Dependency installation failures: Try deleting the node_modules folder and the package-lock.json file, then running npm install again:
rm -rf node_modules package-lock.json
npm install
The page does not load: Make sure the development server is running (you should see output in your terminal). Check that you are visiting http://localhost:3000 (not https).

GitHub is where your project lives online and what most hosts use to deploy. Here is what it is, why it matters, and how push connects your code to the rest of the pipeline.
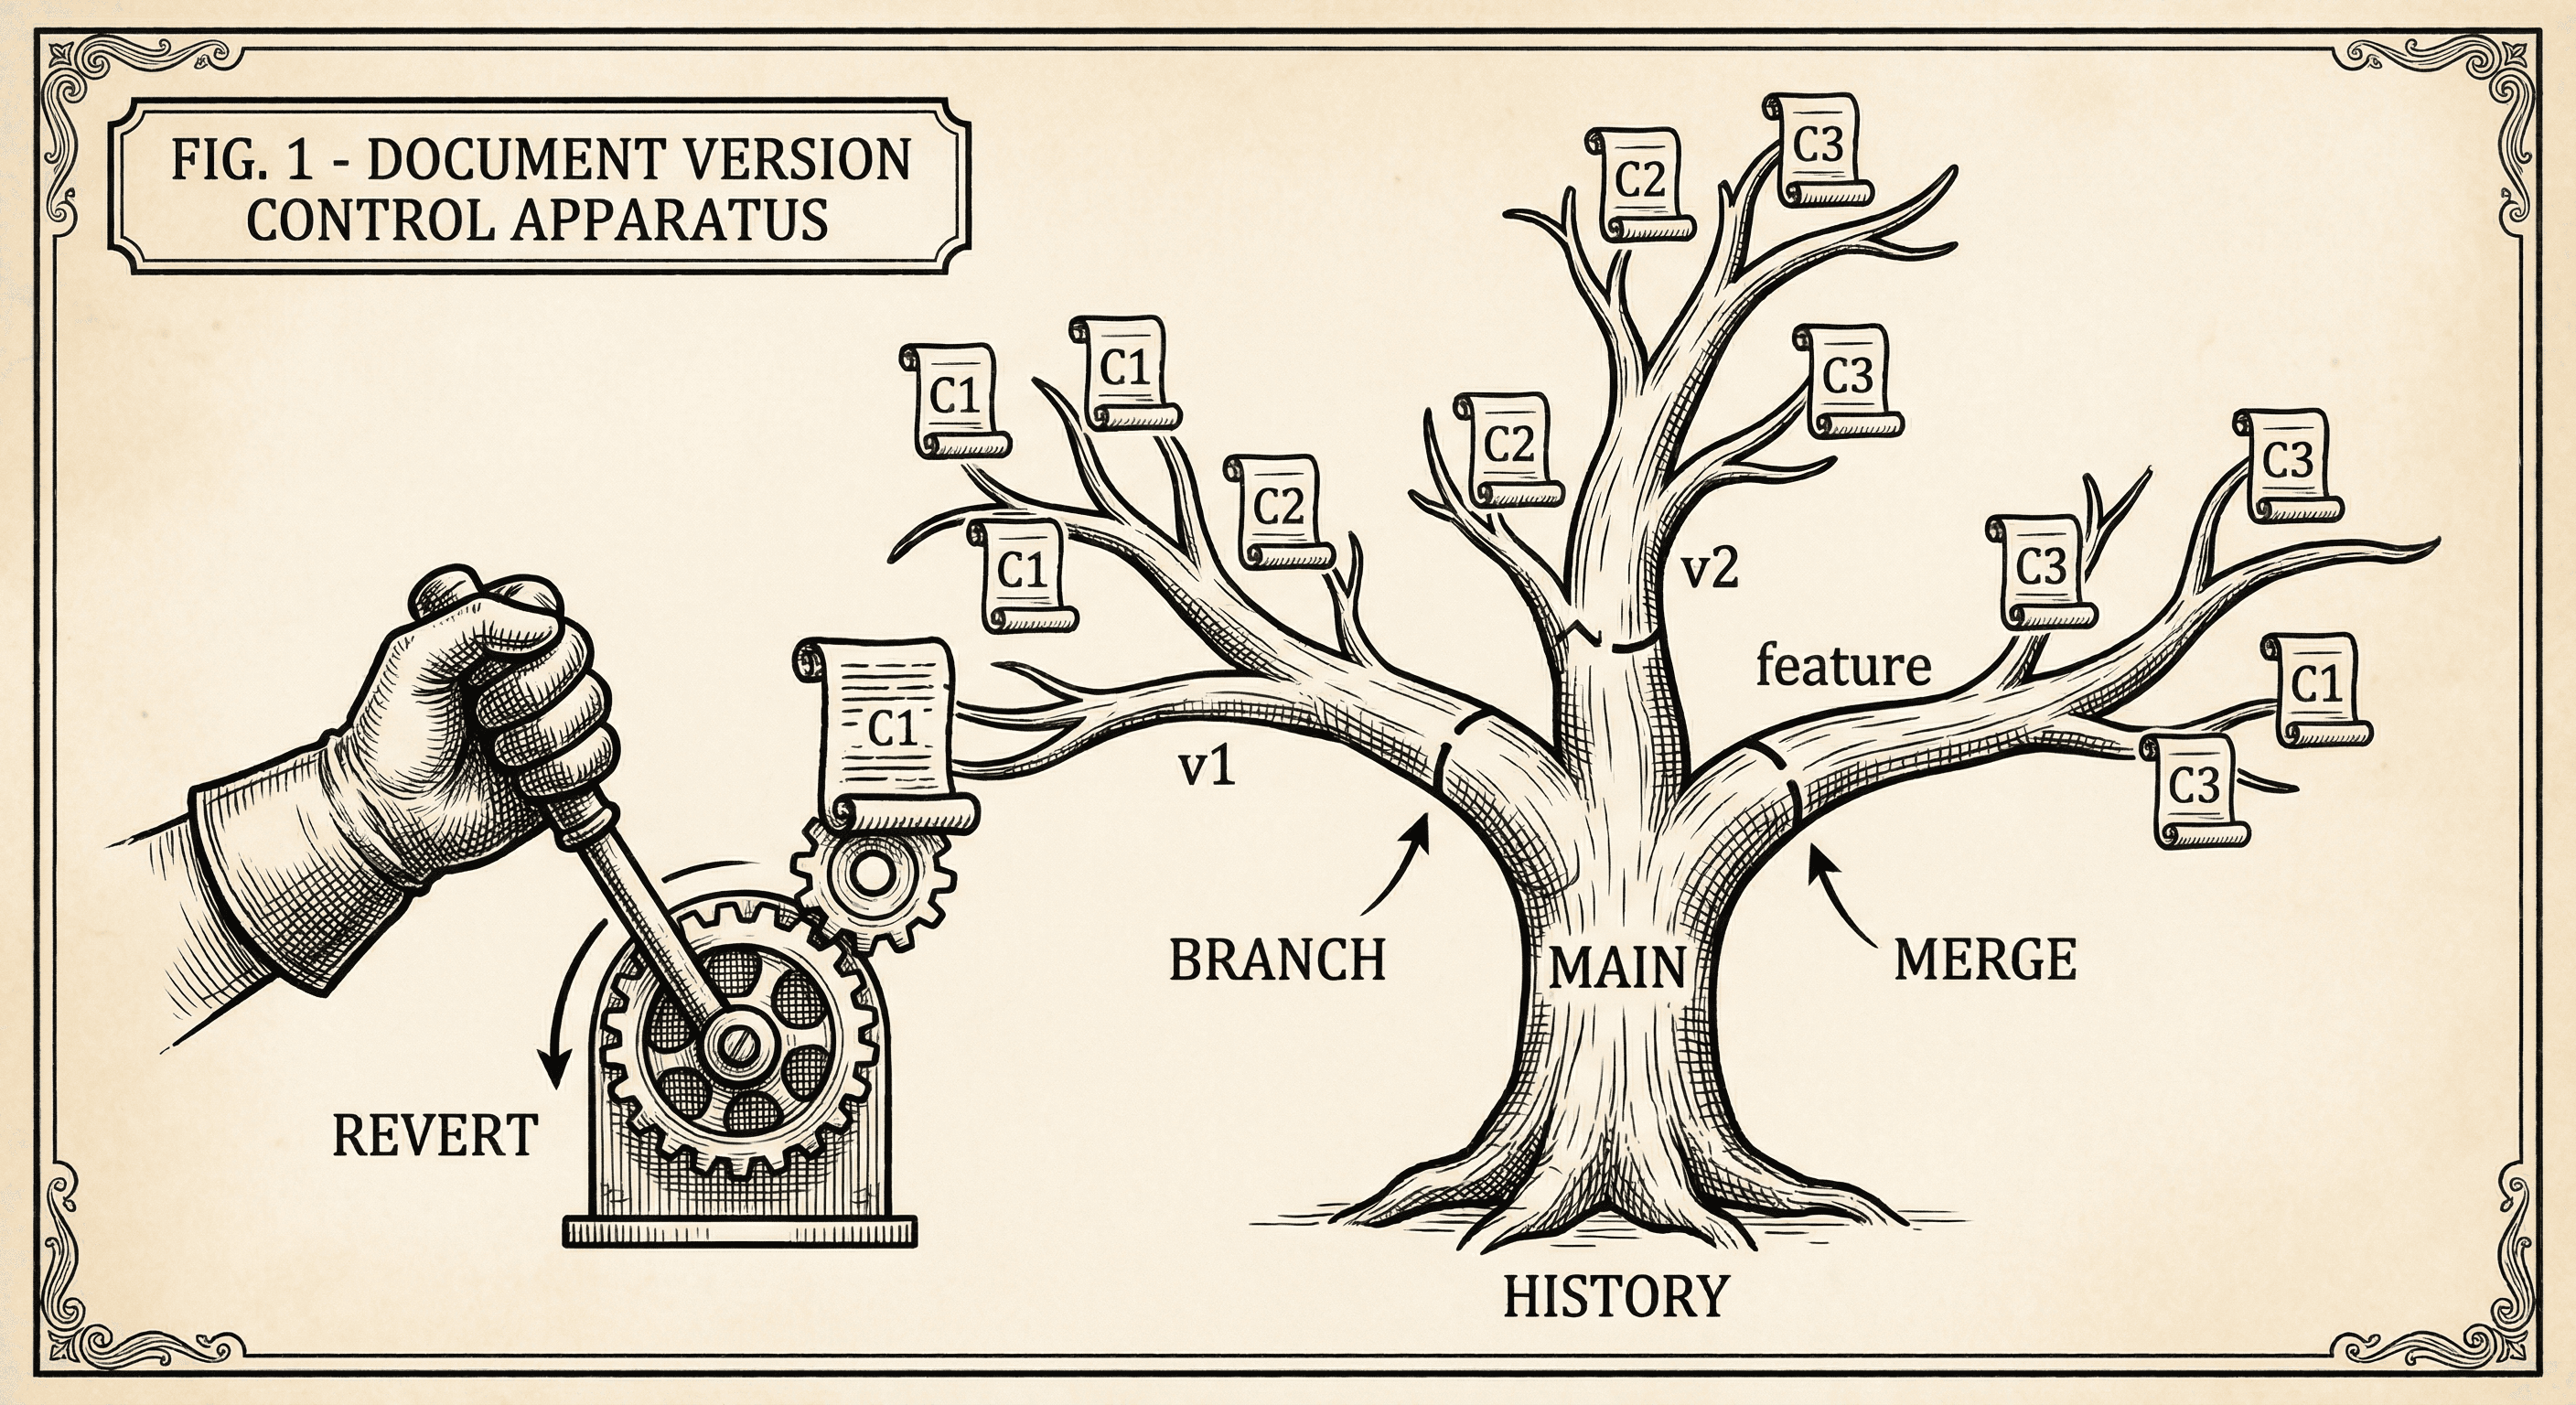
Version control tracks every change to your code and lets you undo mistakes, try ideas safely, and collaborate. Here is what Git does and why you should use it even if you are solo.