Deploying means your app runs on the internet instead of only on your computer. Here is what actually happens — build, upload, and going live — so you know what to expect.
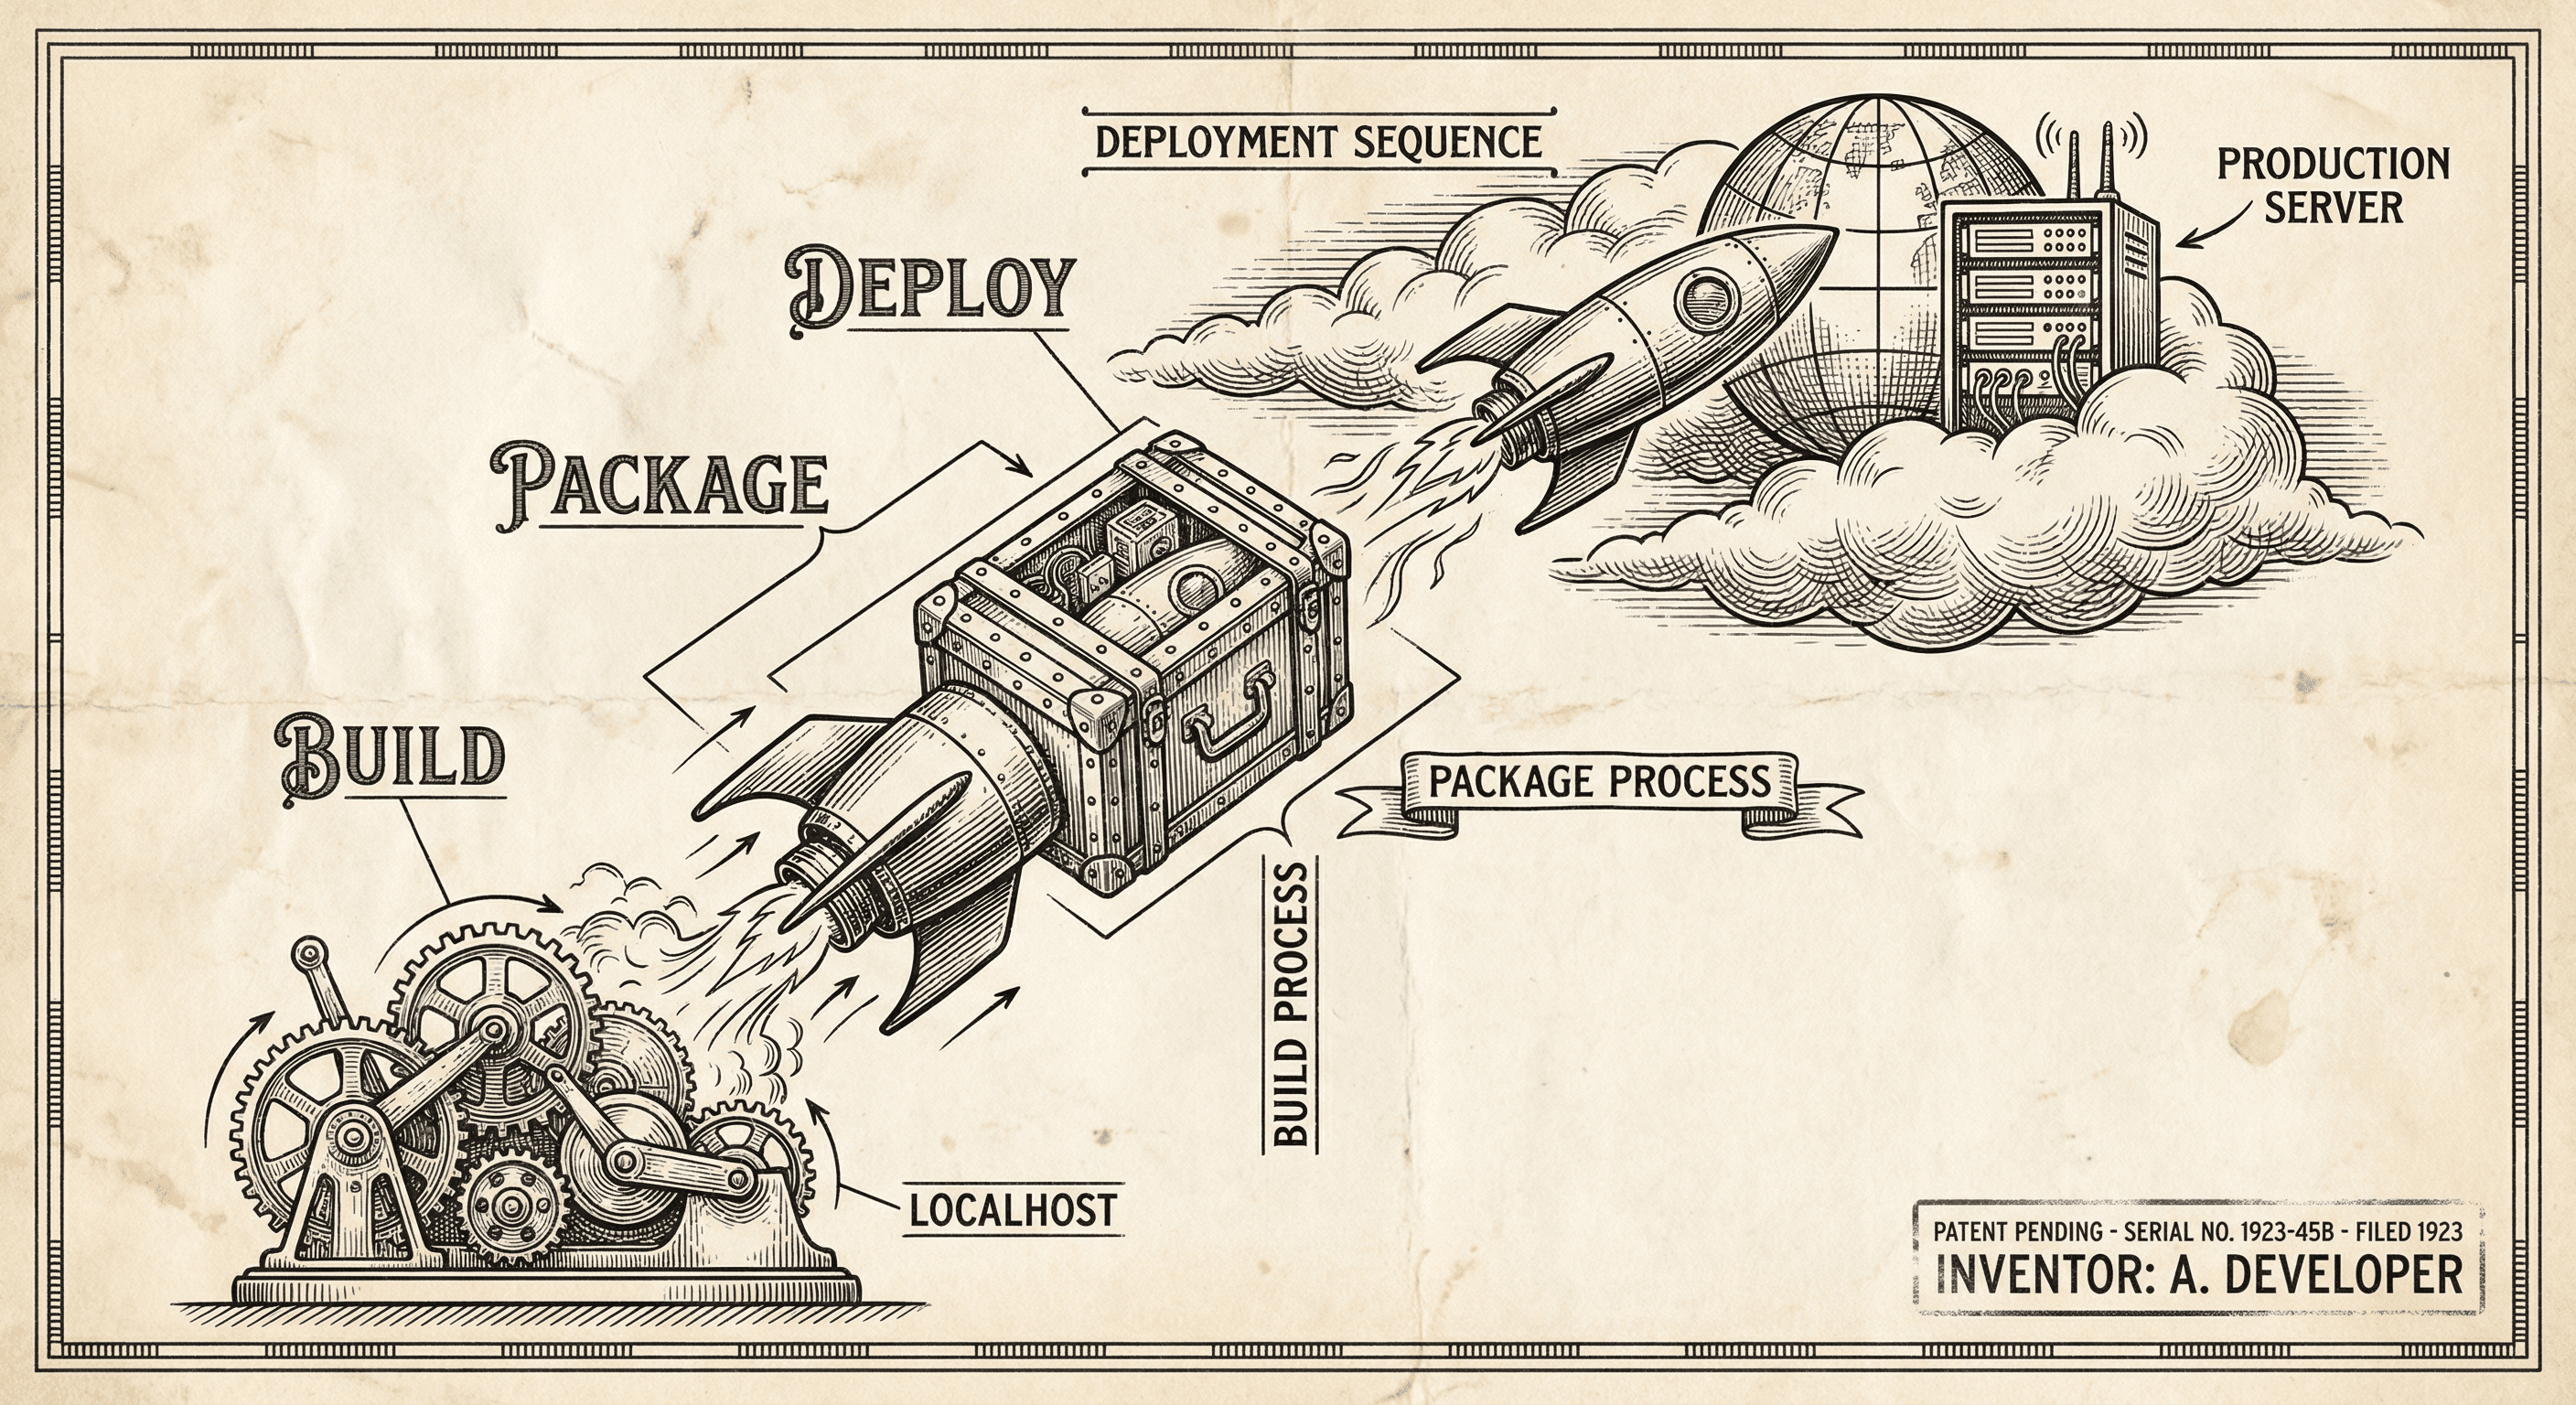
You have been building on localhost — your app runs on your machine, and you are the only one who can open it. Deploying is the step that puts your app on the internet so anyone with the URL can use it.
This guide explains what deployment actually is, what happens under the hood, and what you need to do so your first deploy goes smoothly.
npm run dev. The app runs on your computer. The address is something like http://localhost:3000. Only you (and anyone on your local network, if you allow it) can access it. You use test data, test API keys, and a local or development database.https://yourapp.com). Real users can sign up, log in, and use the app. It uses production database and production API keys.Deploying is the process of taking the app that works on localhost and making it run in that live environment.
Usually you push your code to a Git repository (e.g., GitHub) and your hosting provider is connected to that repo. When you push to the main branch (or another branch you configured), the host automatically starts a new deploy. You can also trigger a deploy manually from the host's dashboard.
The host does not run your raw source code. It runs a build first — the same kind of thing that happens when you run npm run build locally. During the build:
If the build fails (e.g., a TypeScript error or a failing test), the deploy stops. You get a log showing what went wrong. Fix the error, push again, and the next deploy will try again.
Once the build succeeds, the host takes the built application and deploys it to its infrastructure. That means your compiled code and assets are now on their servers, ready to respond to requests. They also set the environment variables you configured in their dashboard (e.g., production database URL, Stripe live keys) so the app has the right config in production.
The host connects your domain (or their default URL) to the new deployment. When someone visits your URL, the request hits their servers, and your app responds. They typically provide SSL (HTTPS) and a CDN so your app is fast and secure without you configuring servers yourself.
.env.local for development (database URL, Stripe keys, etc.) must be added in the host's environment settings with production values. Use the live database and live API keys in production, not test ones.npm run build locally first. If it fails locally, it will fail on the host. Fix any errors and ensure tests pass before you rely on automatic deploys.yourapp.vercel.app). When you are ready, you add your own domain in the host's dashboard and point your domain's DNS to the host as they instruct.npm run build locally. Fix the error and push again.npm run build locally, set all required environment variables in the host's dashboard with production values, and (if needed) register your production URL with third-party services.
Deployment can feel overwhelming. Start here — a short, calm intro to the path from 'it works on my computer' to 'it works for everyone.'

Put it all together: push to GitHub, deploy with Vercel, and register a domain so your app has a real address. Includes where to get a domain and how to point it at your app.