Learn what text-to-speech is, how the ElevenLabs Conversational AI agent works, and how to set up a voice-powered experience in your product — step by step, no prior experience required.
Imagine opening an application and having it greet you by name, walk you through a process out loud, or answer your questions in a natural speaking voice. Not a robotic monotone. Not a pre-recorded clip. A real, fluid, human-sounding voice that responds to what you say.
This is not science fiction. This is what modern text-to-speech and conversational AI make possible — and it is more accessible than most people realize.
This guide walks you through the entire process: what text-to-speech is, what the ElevenLabs Conversational AI agent does, and how to set one up for your own product. No prior experience with voice technology is needed.
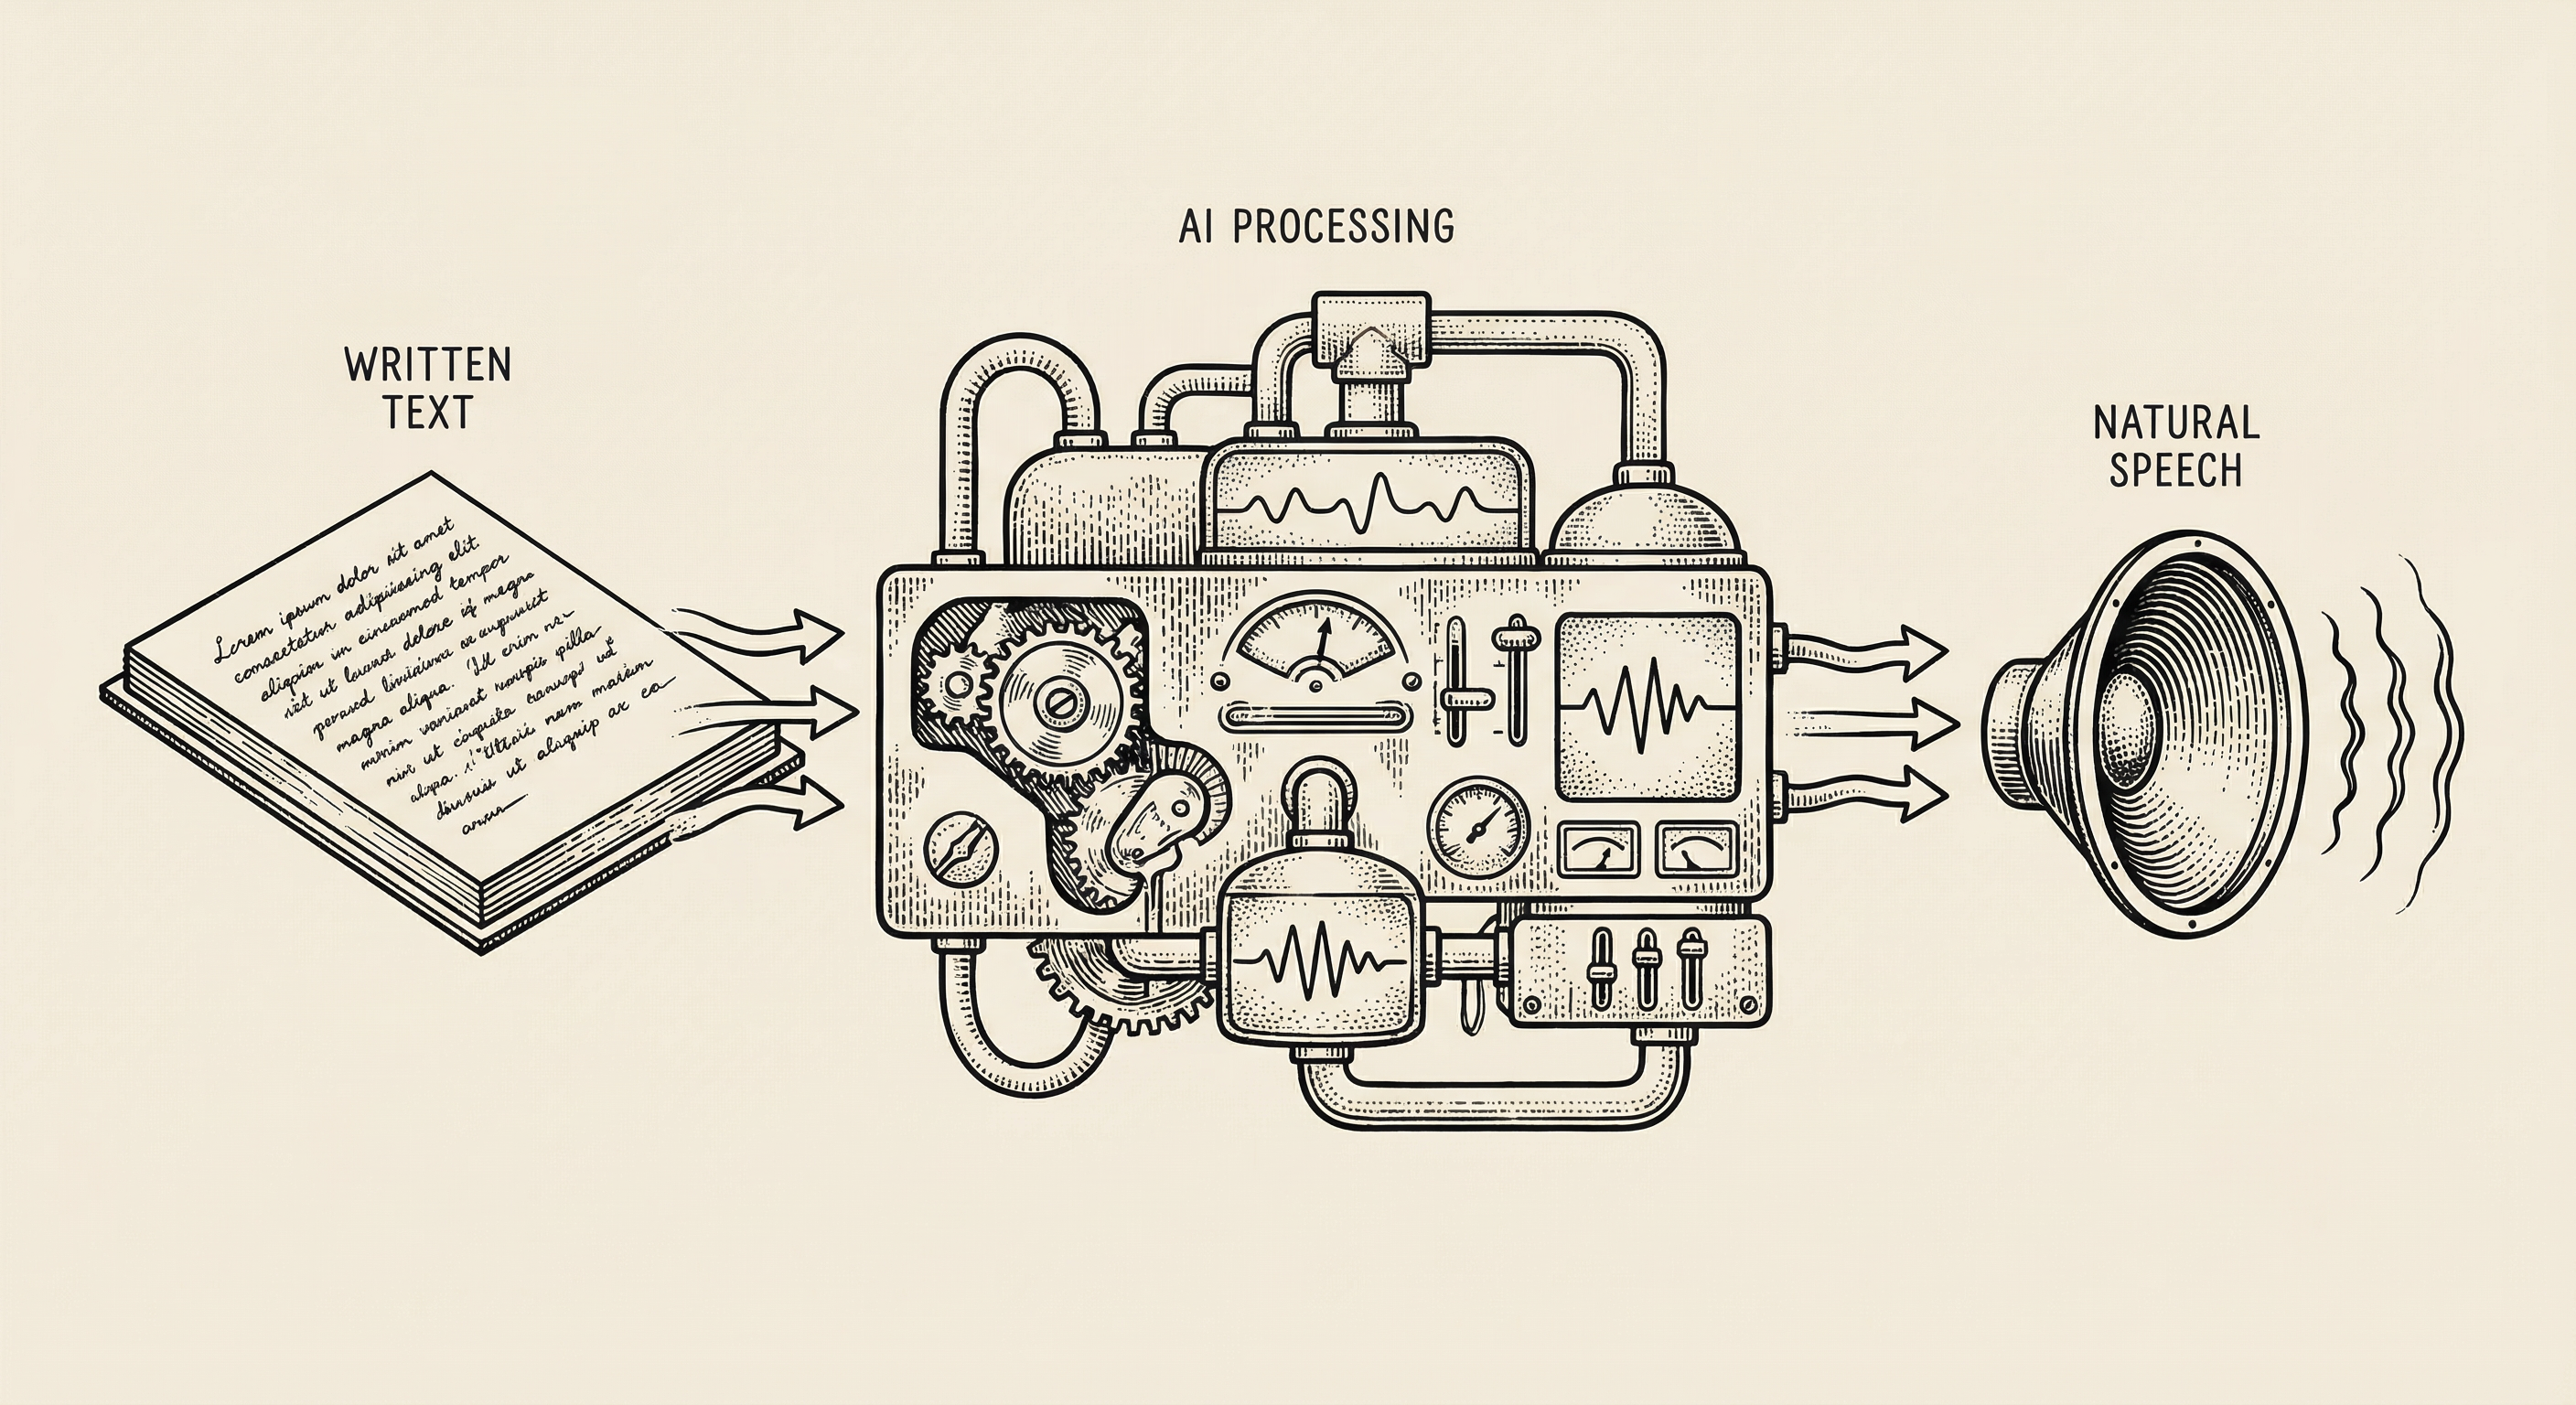
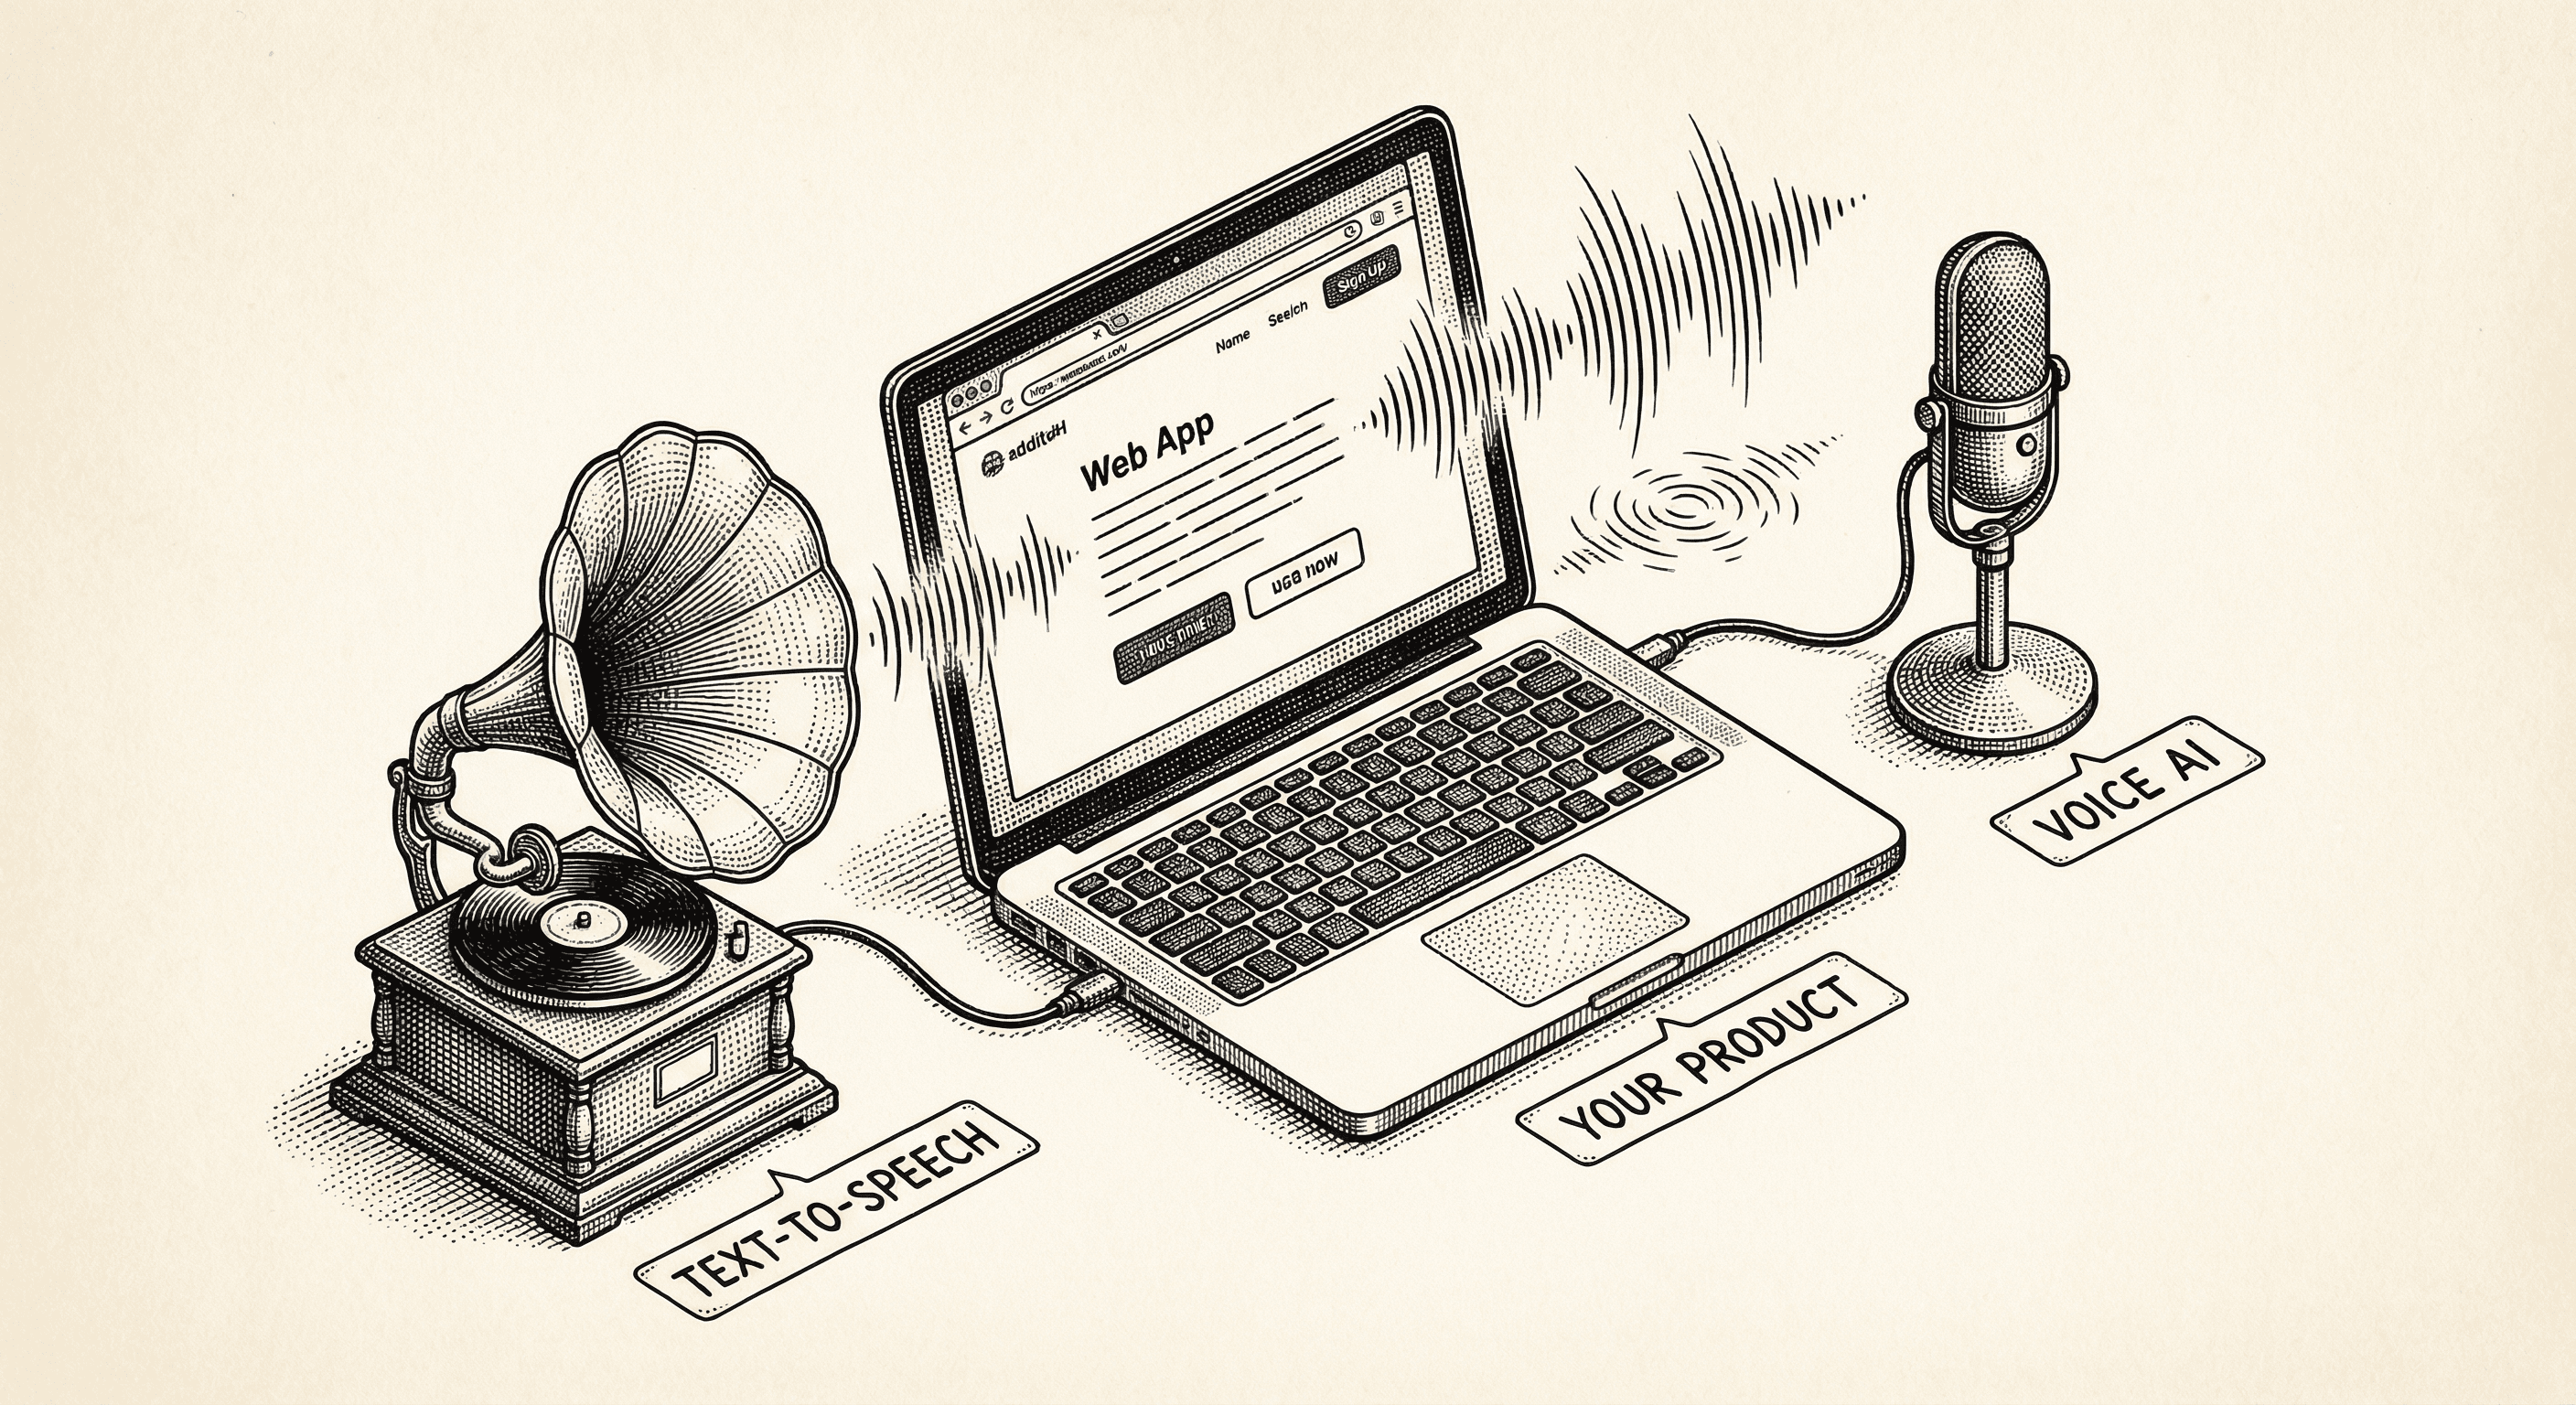
Text-to-speech — often abbreviated as TTS — is technology that converts written words into spoken audio. You give it text, and it gives you back a voice reading that text aloud.
Think about how audiobooks work. A human narrator sits in a studio, reads a book into a microphone, and that recording is packaged as an audiobook. Text-to-speech does the same thing, except the narrator is artificial intelligence. There is no studio, no microphone, no recording session. You provide the words, and the AI generates a human-sounding voice in real time.
For decades, TTS sounded robotic and unnatural — think of those early GPS voices that mispronounced street names and spoke in a stilted, mechanical cadence. People tolerated it because the alternative was silence.
That has changed dramatically. Modern TTS systems produce voices that are nearly indistinguishable from real humans. They handle emphasis, pacing, emotion, and even conversational nuances like pausing before an important point.
This matters for product builders because voice is one of the most natural ways humans communicate. When your product can speak, it becomes more accessible, more engaging, and more human. Some practical applications:
ElevenLabs is a company that specializes in AI voice technology. They offer several products, but the ones most relevant to product builders are:
The Conversational AI Agent is the most powerful of these because it is not limited to reading text aloud. It can have actual conversations.
A traditional text-to-speech system is one-directional: you give it text, it speaks. The ElevenLabs Conversational AI Agent is bidirectional: it listens to what a person says, processes the meaning, decides how to respond, and speaks the response — all within a few hundred milliseconds.
Here is what happens behind the scenes when someone talks to an ElevenLabs agent:
This entire cycle happens fast enough that the conversation feels natural, like talking to another person on the phone.
Getting started with ElevenLabs takes less time than making a cup of coffee. Here is the process.
Visit elevenlabs.io and sign up for an account. ElevenLabs offers a free tier that gives you enough credits to experiment and build a prototype. You can upgrade later if your product needs more usage.
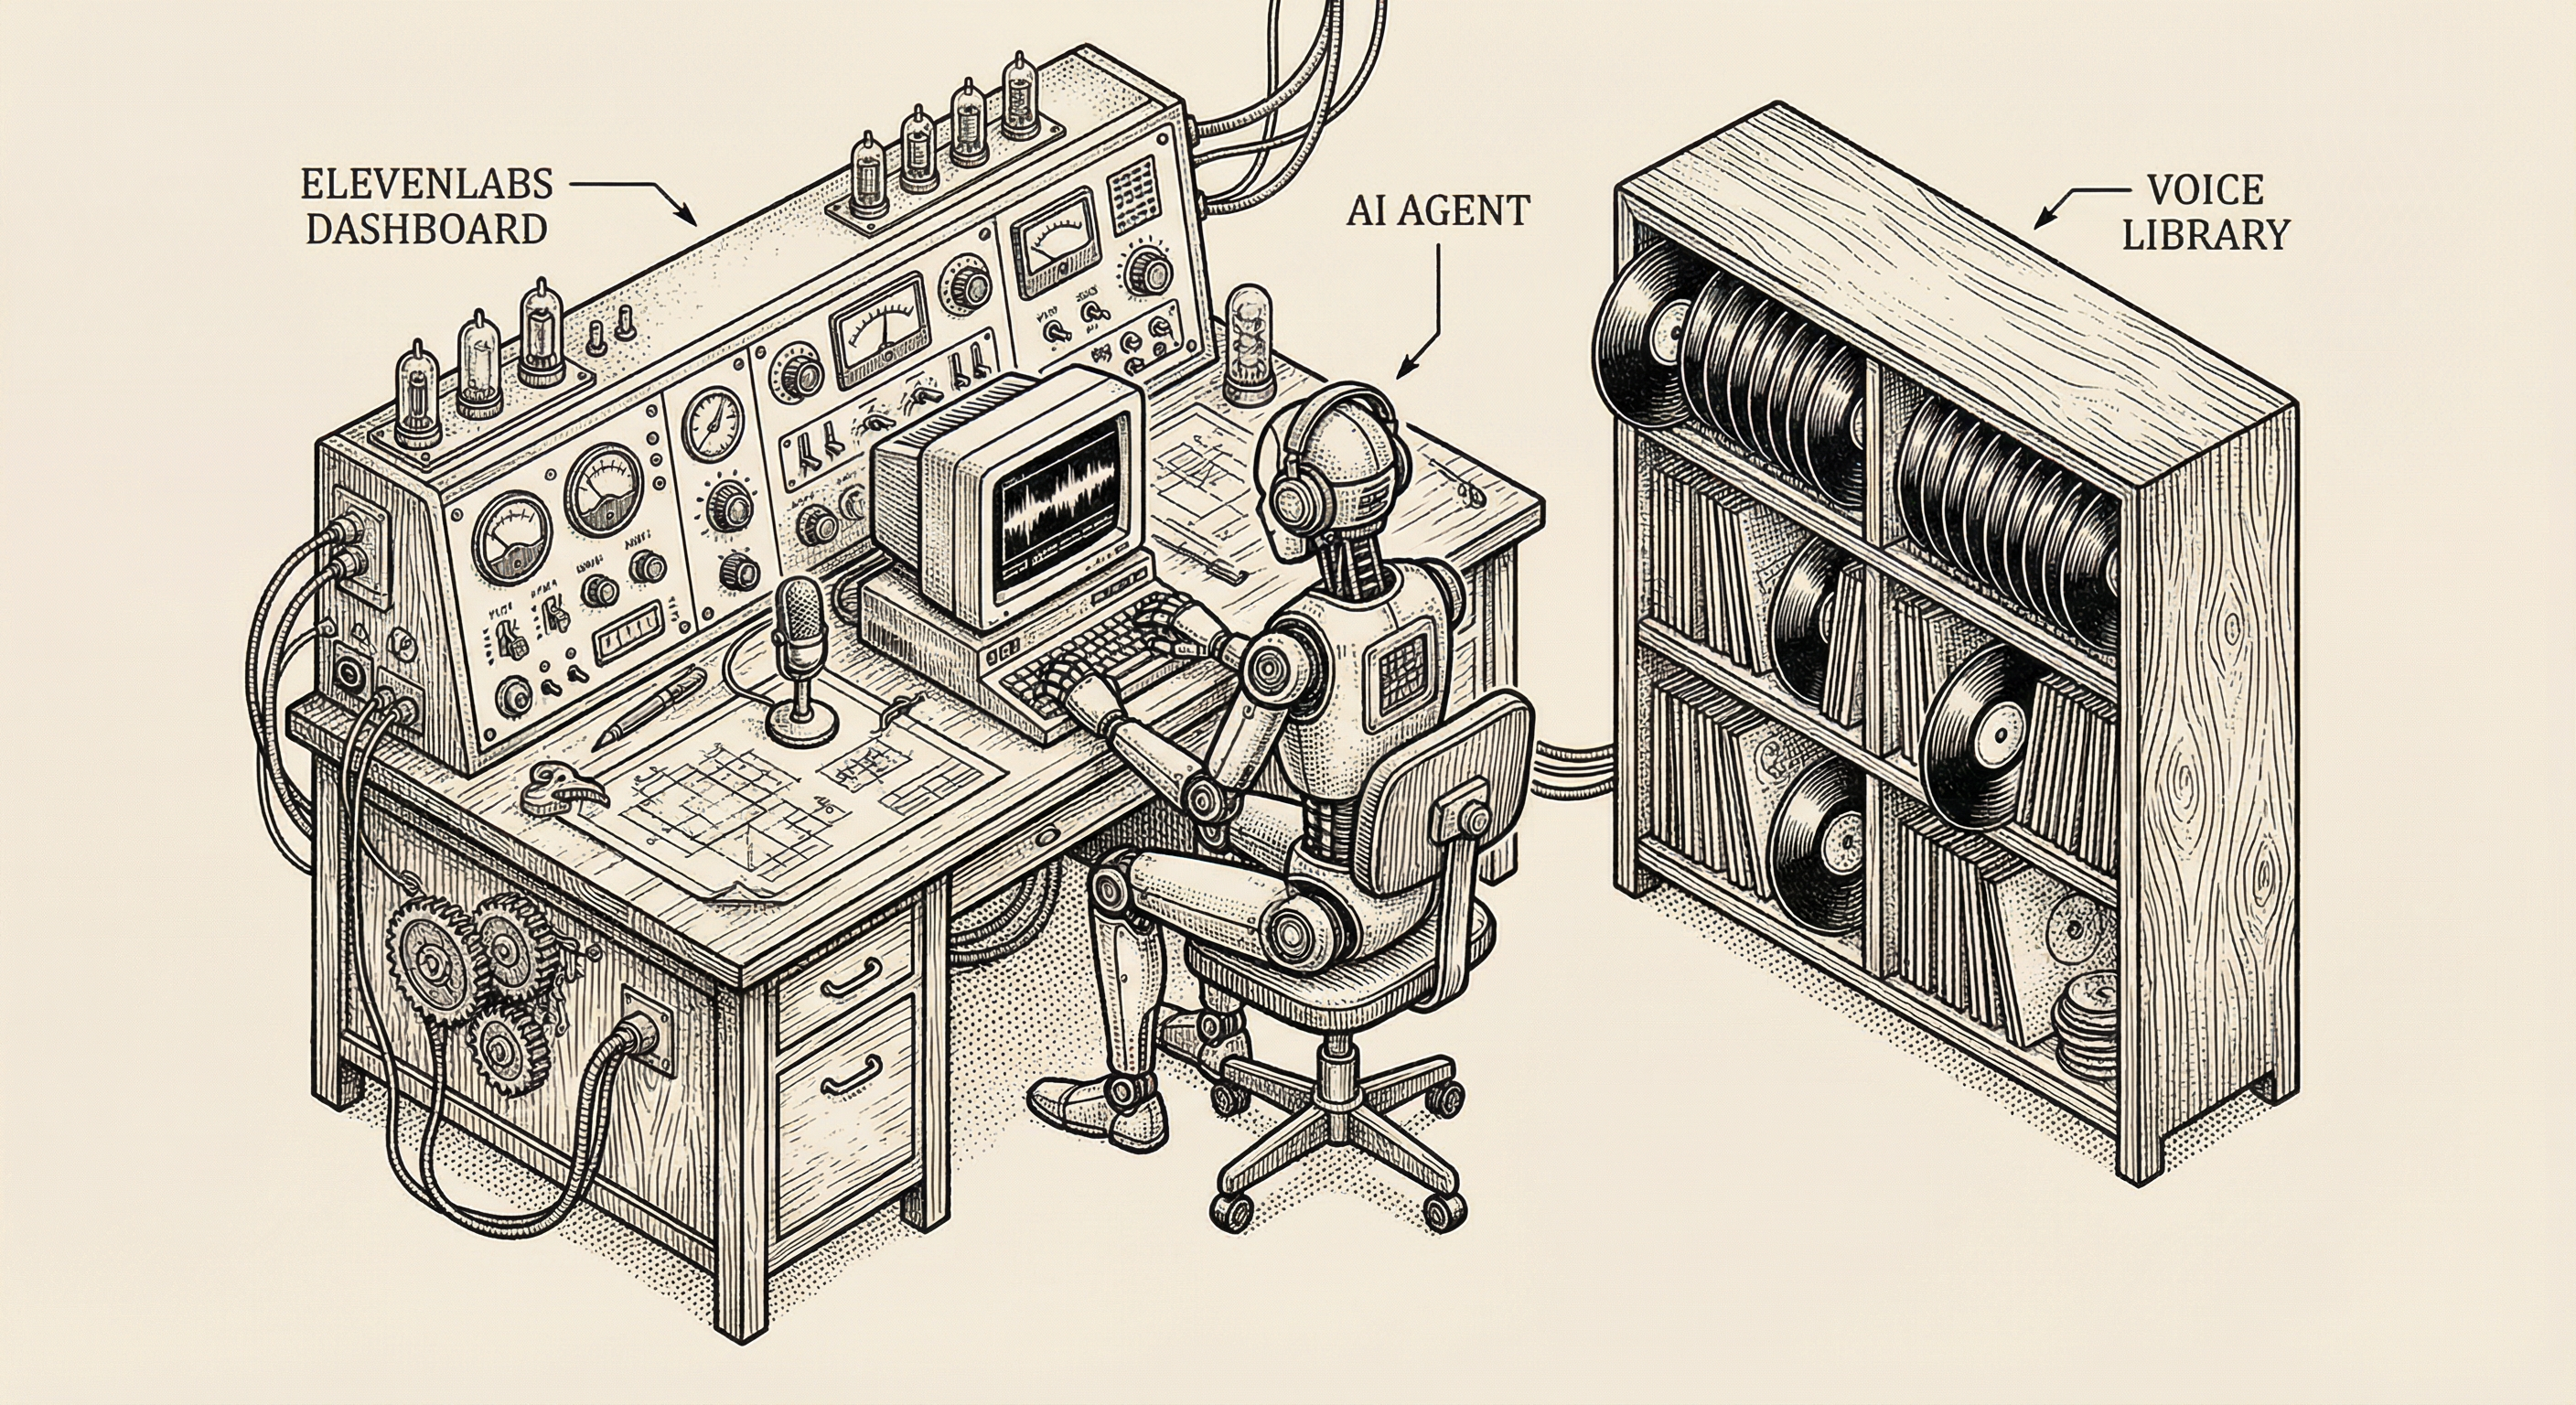
After signing up, you land on the ElevenLabs dashboard. This is your home base — where you manage voices, create agents, and monitor usage.
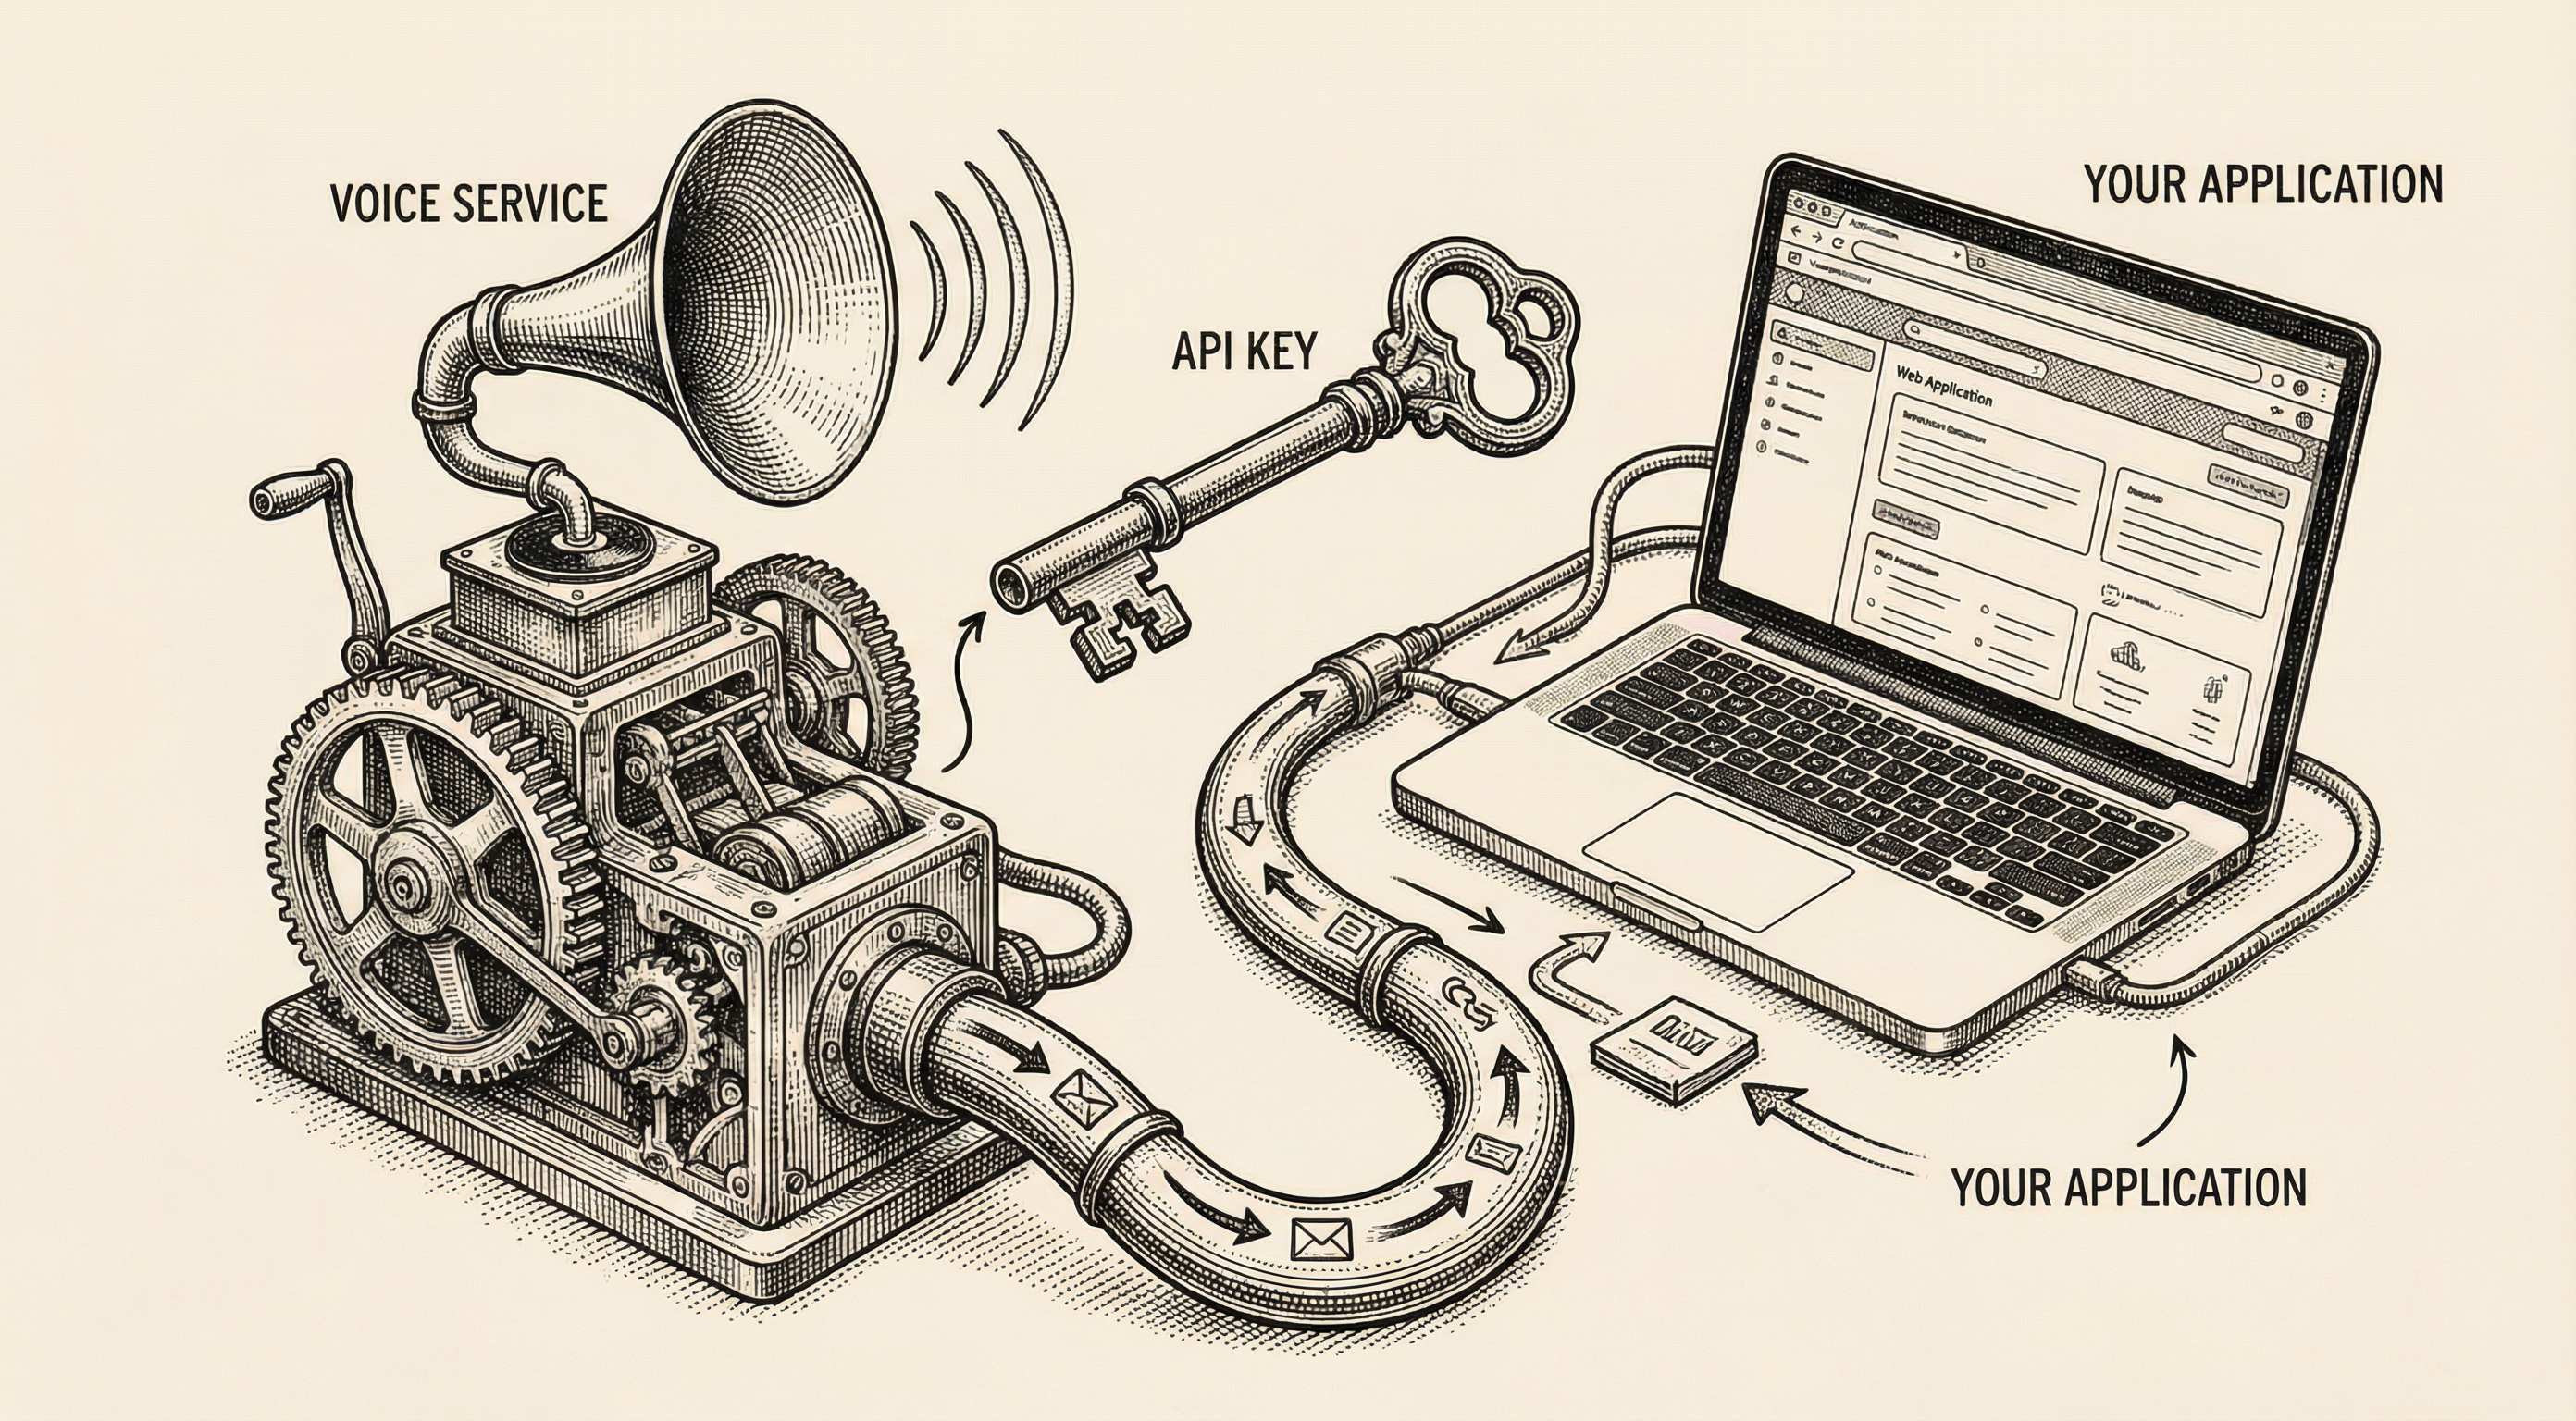
Your API key is what connects your application to ElevenLabs. Think of it as a membership card — it tells ElevenLabs that your application has permission to use their services.
To find your API key:
Important: treat your API key like a password. Do not paste it into your code directly, do not share it in public repositories, and do not include it in client-side code that users can inspect. Store it in an environment variable on your server.
Before creating your agent, spend a few minutes listening to the available voices. ElevenLabs provides a library of pre-made voices with different characteristics — some warm and conversational, others crisp and professional, and everything in between.
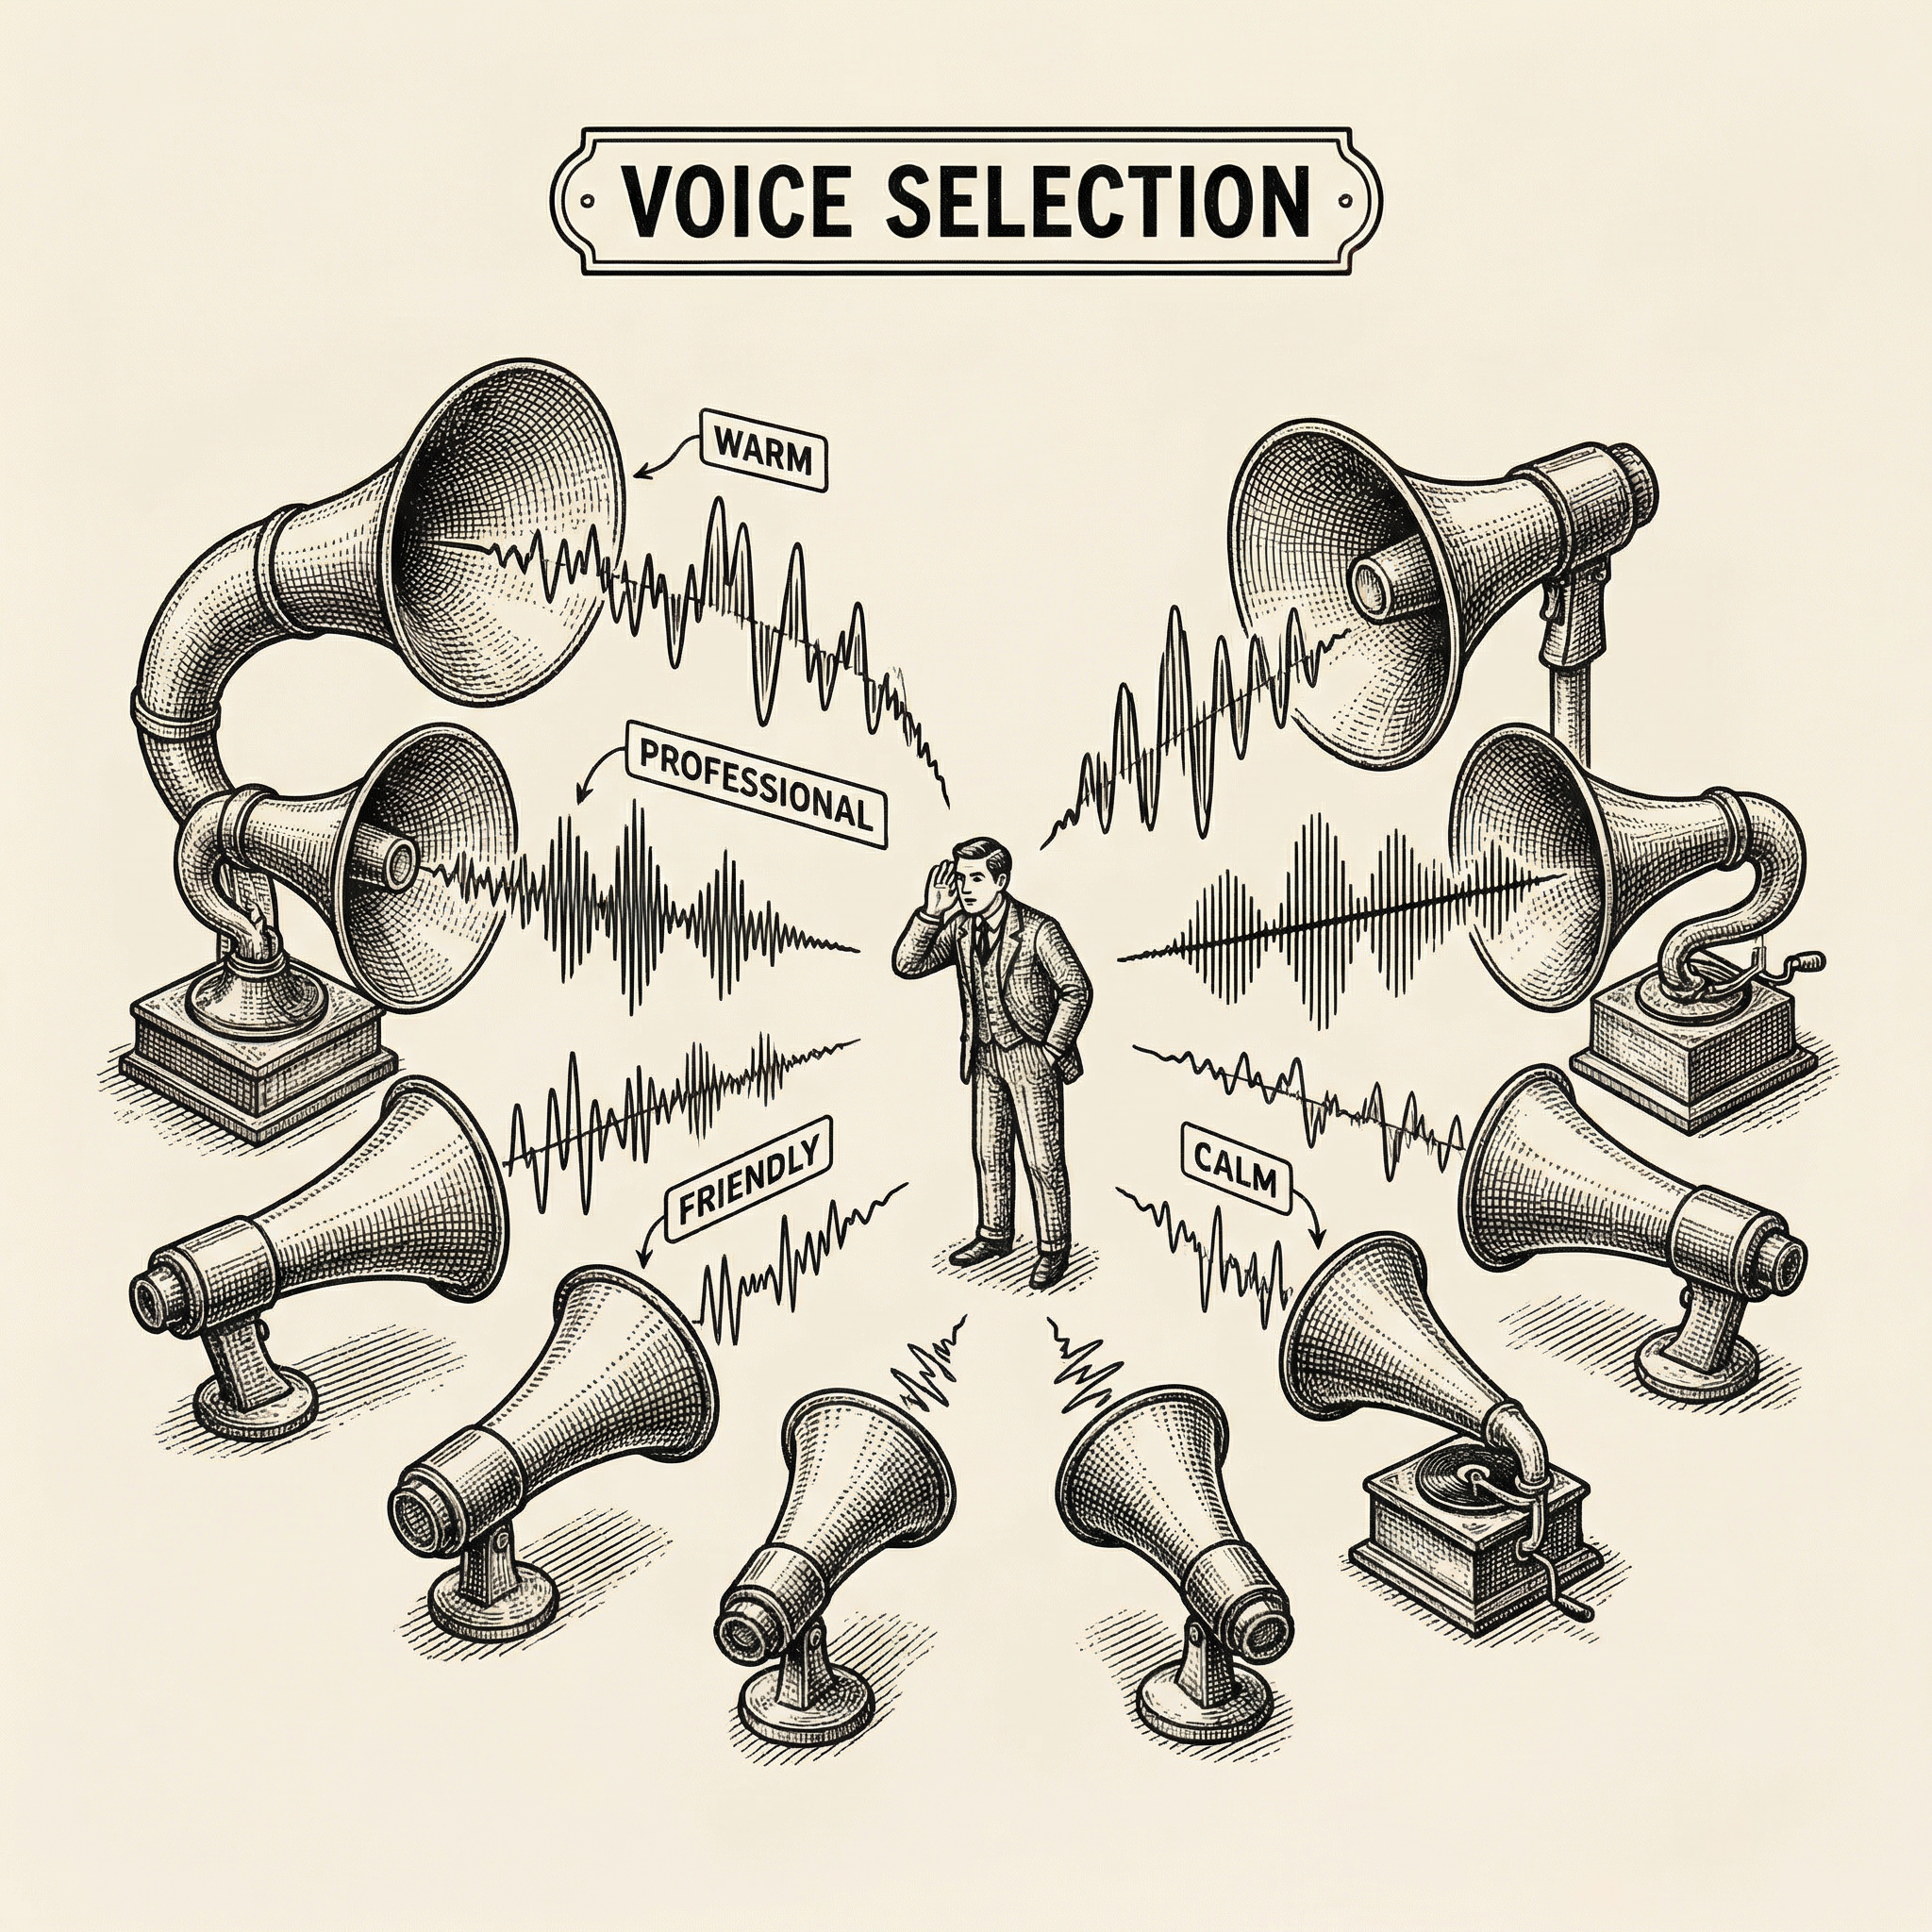
When choosing a voice, consider:
You can preview every voice in the library before committing. Listen to several, imagine them speaking your product's content, and pick the one that feels right.

Now for the exciting part — building the agent itself. Navigate to the Conversational AI section in the ElevenLabs dashboard.
Click Create Agent. You will see a setup interface with several sections to configure. Do not feel overwhelmed — you can start with the basics and refine later.
Give your agent a name that describes its purpose. Something like "Customer Support Agent" or "Onboarding Guide" helps you identify it later, especially if you create multiple agents.
This is where you tell the agent who it is and how it should behave. ElevenLabs calls this the system prompt — a set of instructions that shape the agent's personality and responses.
Think of this like writing a job description for a new employee. You are telling the agent:
Here is an example system prompt:
You are a helpful assistant for a project management application.
Your name is Alex. You help users understand how to use the app,
answer questions about features, and guide them through common tasks.

Be friendly but concise. Users are busy and appreciate clear, direct answers.
If a question is outside your knowledge, let the user know and suggest
they contact the support team.

Never discuss pricing, competitors, or make promises about upcoming features.
The more specific your prompt, the more consistently your agent behaves.
Select the voice you previewed earlier from the Voice Library. You can also adjust settings like:
Start with the defaults and adjust after you hear the agent in conversation. Small changes make noticeable differences, so experiment gradually.
If you want your agent to answer questions about your specific product, you need to give it information to work with. This is the Knowledge Base.
You can upload:
The agent does not memorize this content word for word. Instead, it understands the information and uses it to formulate natural responses. If a user asks "How do I reset my password?" and your knowledge base contains that process, the agent explains it in its own words, conversationally.
ElevenLabs provides additional settings worth exploring:
For your first agent, the defaults work well. You can fine-tune these after testing.
Once your agent is configured, you need to connect it to your application. ElevenLabs provides several integration options.
The simplest approach is the ElevenLabs embeddable widget. You add a small code snippet to your website, and a voice conversation button appears. When users click it, they start talking to your agent.
This is ideal for:
The widget handles all the complexity — microphone access, audio streaming, connection management — so you can focus on your agent's personality and knowledge.
For deeper integration, ElevenLabs provides a JavaScript SDK that gives you programmatic control over the conversation. This lets you:
Here is a simplified example of what using the SDK looks like:
import { Conversation } from '@11labs/client';

// Start a conversation with your agent
const conversation = await Conversation.startSession({
  agentId: 'your-agent-id-here',
  onMessage: (message) => {
    // Handle each message in the conversation
    console.log('Agent said:', message.text);
  },
  onStatusChange: (status) => {
    // React to connection status changes
    console.log('Status:', status);
  }
});

// Later, when the user is done:
await conversation.endSession();
The SDK connects to ElevenLabs through a WebSocket — a persistent connection that allows real-time, two-way audio streaming. Your application sends the user's voice to ElevenLabs, and ElevenLabs sends the agent's voice back, all happening continuously throughout the conversation.
For server-side integrations or custom architectures, the REST API gives you complete control. This is the most flexible option but requires the most development work.
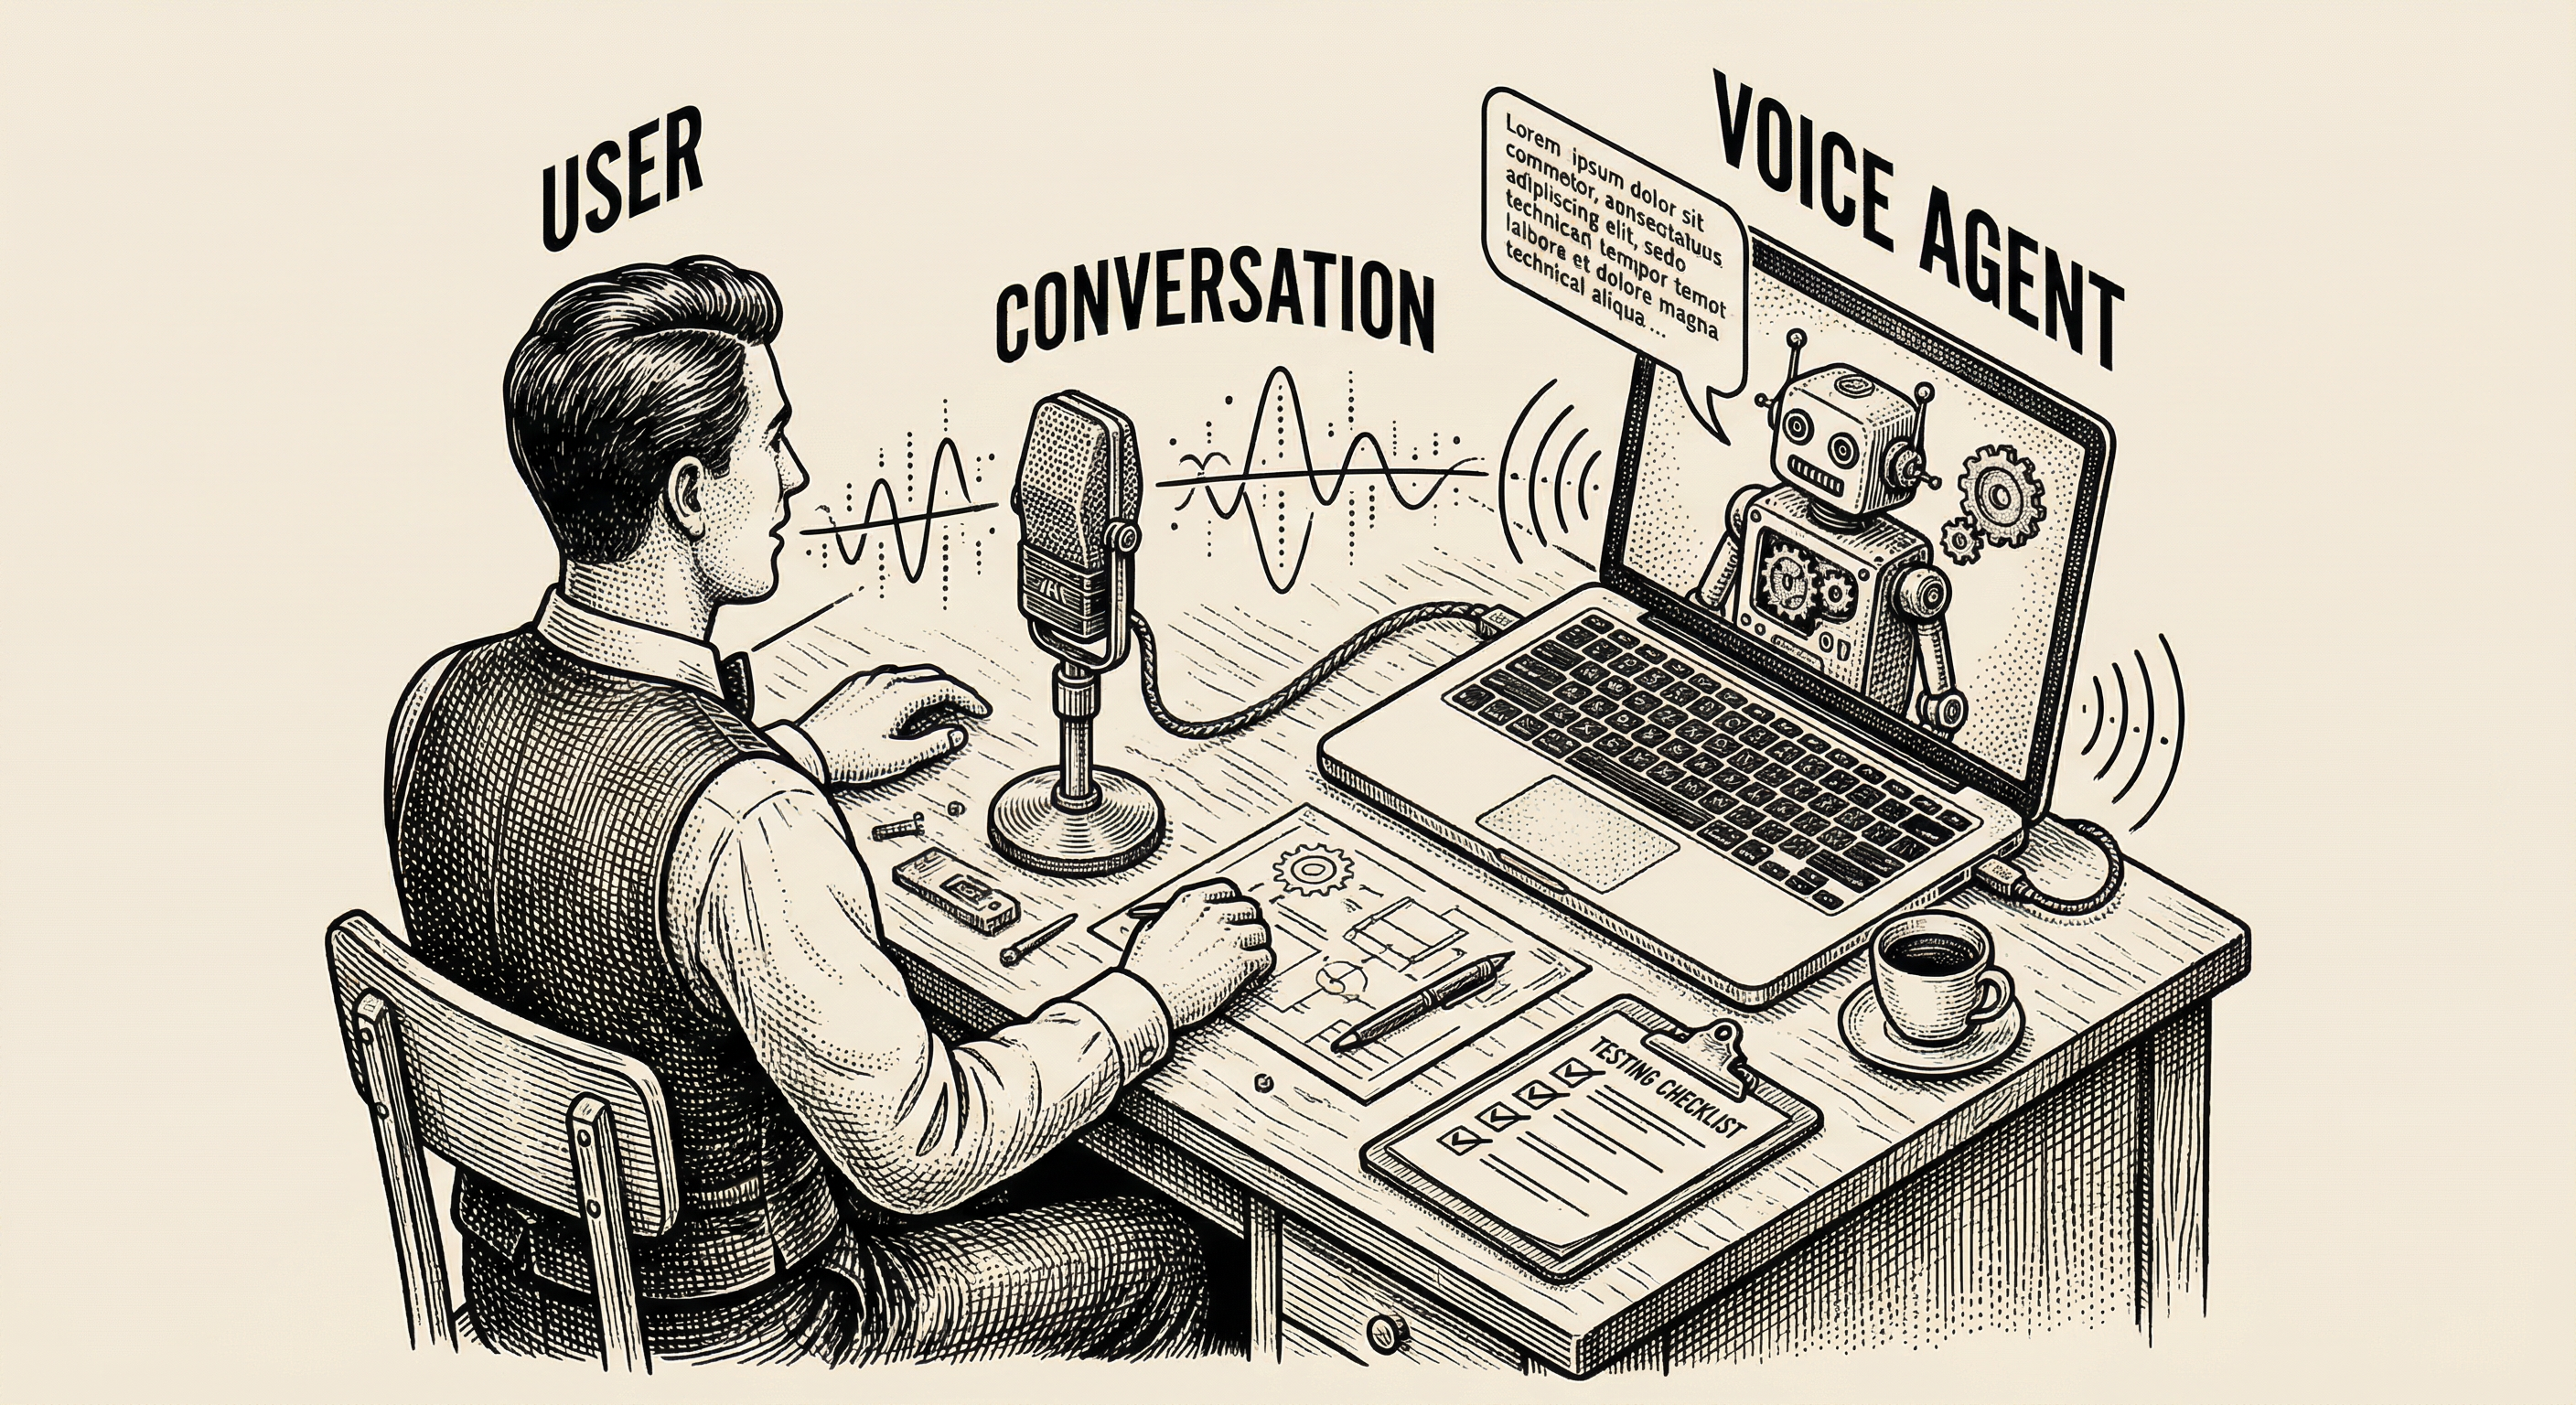
Before sharing your agent with users, test it thoroughly. ElevenLabs includes a built-in testing tool right in the dashboard — click the conversation button on your agent's page to start talking to it.
Accuracy — ask questions that your knowledge base covers. Does the agent give correct answers?
Personality — does the agent maintain the tone and behavior you defined? Is it too formal? Too casual? Adjust the system prompt until it feels right.
Edge cases — ask questions the agent should not answer. Ask things outside its knowledge. Try to confuse it. A well-configured agent handles these gracefully.
Latency — is the response time fast enough for natural conversation? If there are noticeable delays, try a faster LLM model or check your network connection.
Voice quality — does the voice sound natural? Are there awkward pauses, mispronunciations, or strange inflections? Adjust the voice settings or try a different voice.
Your first version will not be perfect, and that is expected. Building a good voice agent is an iterative process:
When your agent handles the common scenarios well, invite a few trusted people to test it. Fresh perspectives reveal issues you might miss because you are too close to the project.
To make this concrete, here is how a product builder might use an ElevenLabs agent in a real product:
Scenario: An online cooking course platform
The student gets immediate, spoken answers without leaving the recipe page. The course creator gets a support system that works around the clock without hiring staff.
ElevenLabs uses a credit-based pricing model. Each minute of agent conversation uses a certain number of credits, depending on the voice quality and LLM model you choose.
The free tier provides enough credits to build and test your agent. Paid plans offer more credits, higher quality voices, and lower latency. For most early-stage products, the free or starter tier is sufficient while you validate that voice adds value for your users.
Check the ElevenLabs pricing page for specific numbers — they update their plans periodically with new features and adjusted limits.
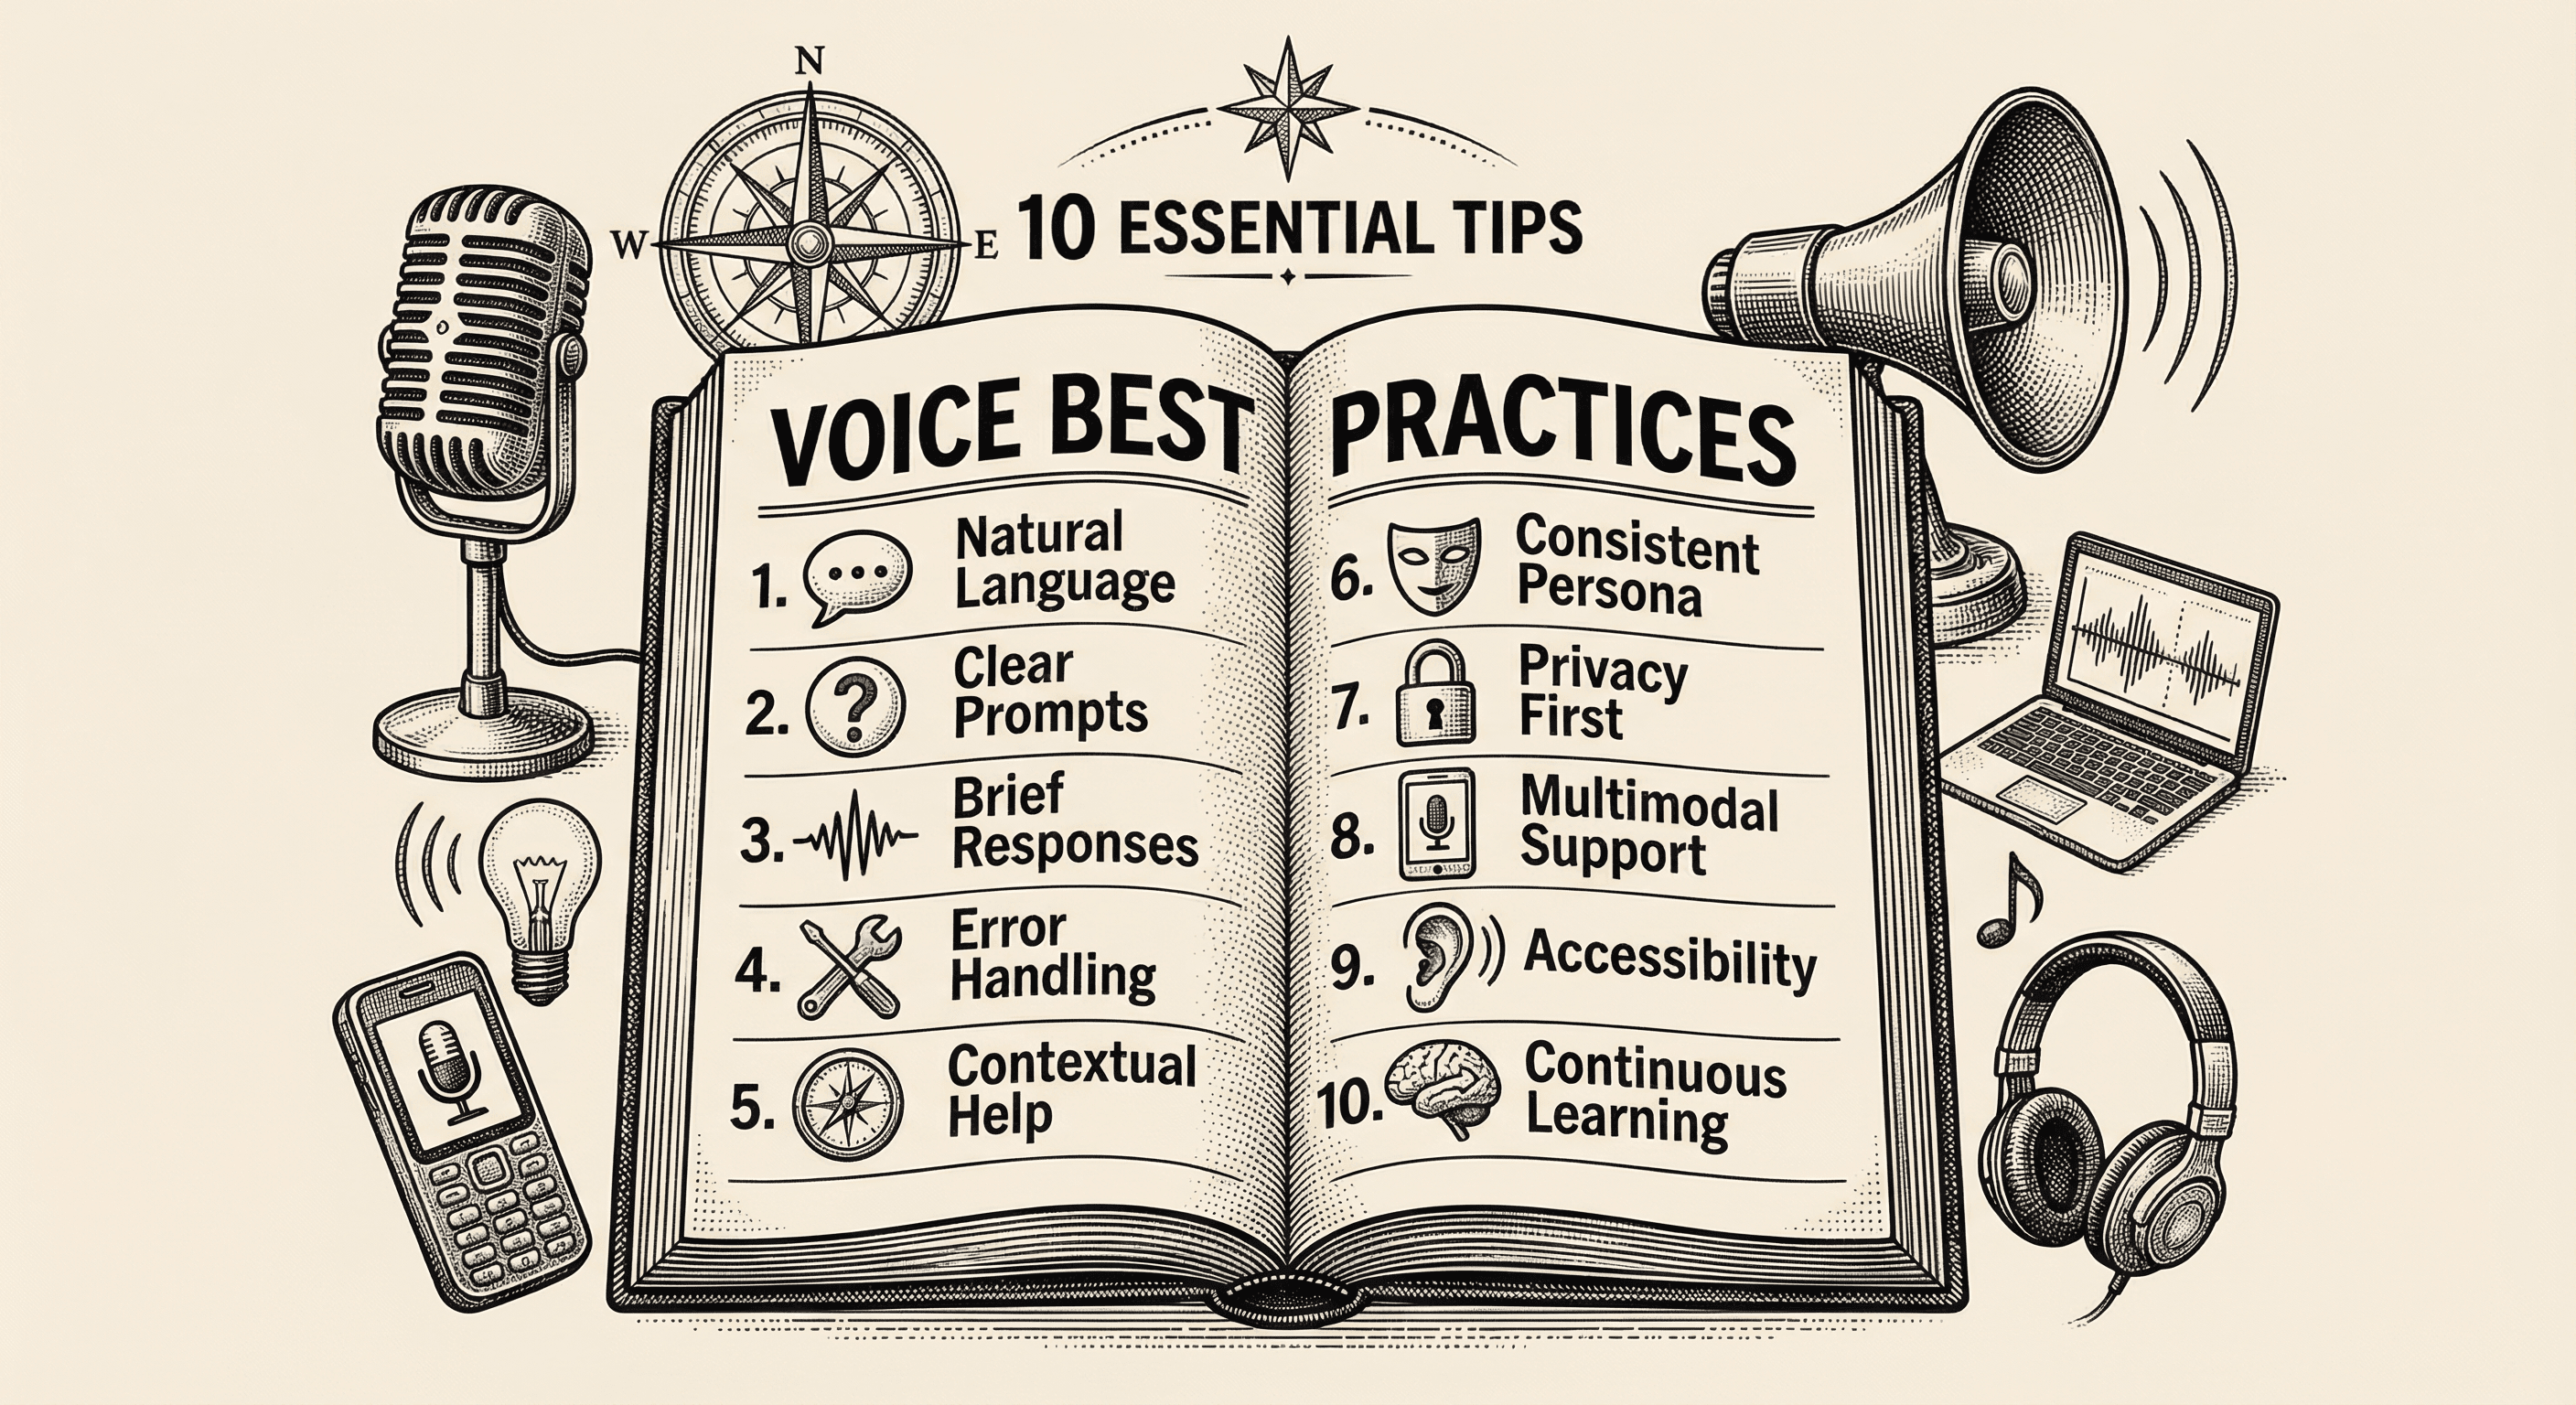
Practical, actionable advice for adding voice to your application the right way — from choosing the right moments to speak, to handling errors gracefully, to respecting your users' preferences.
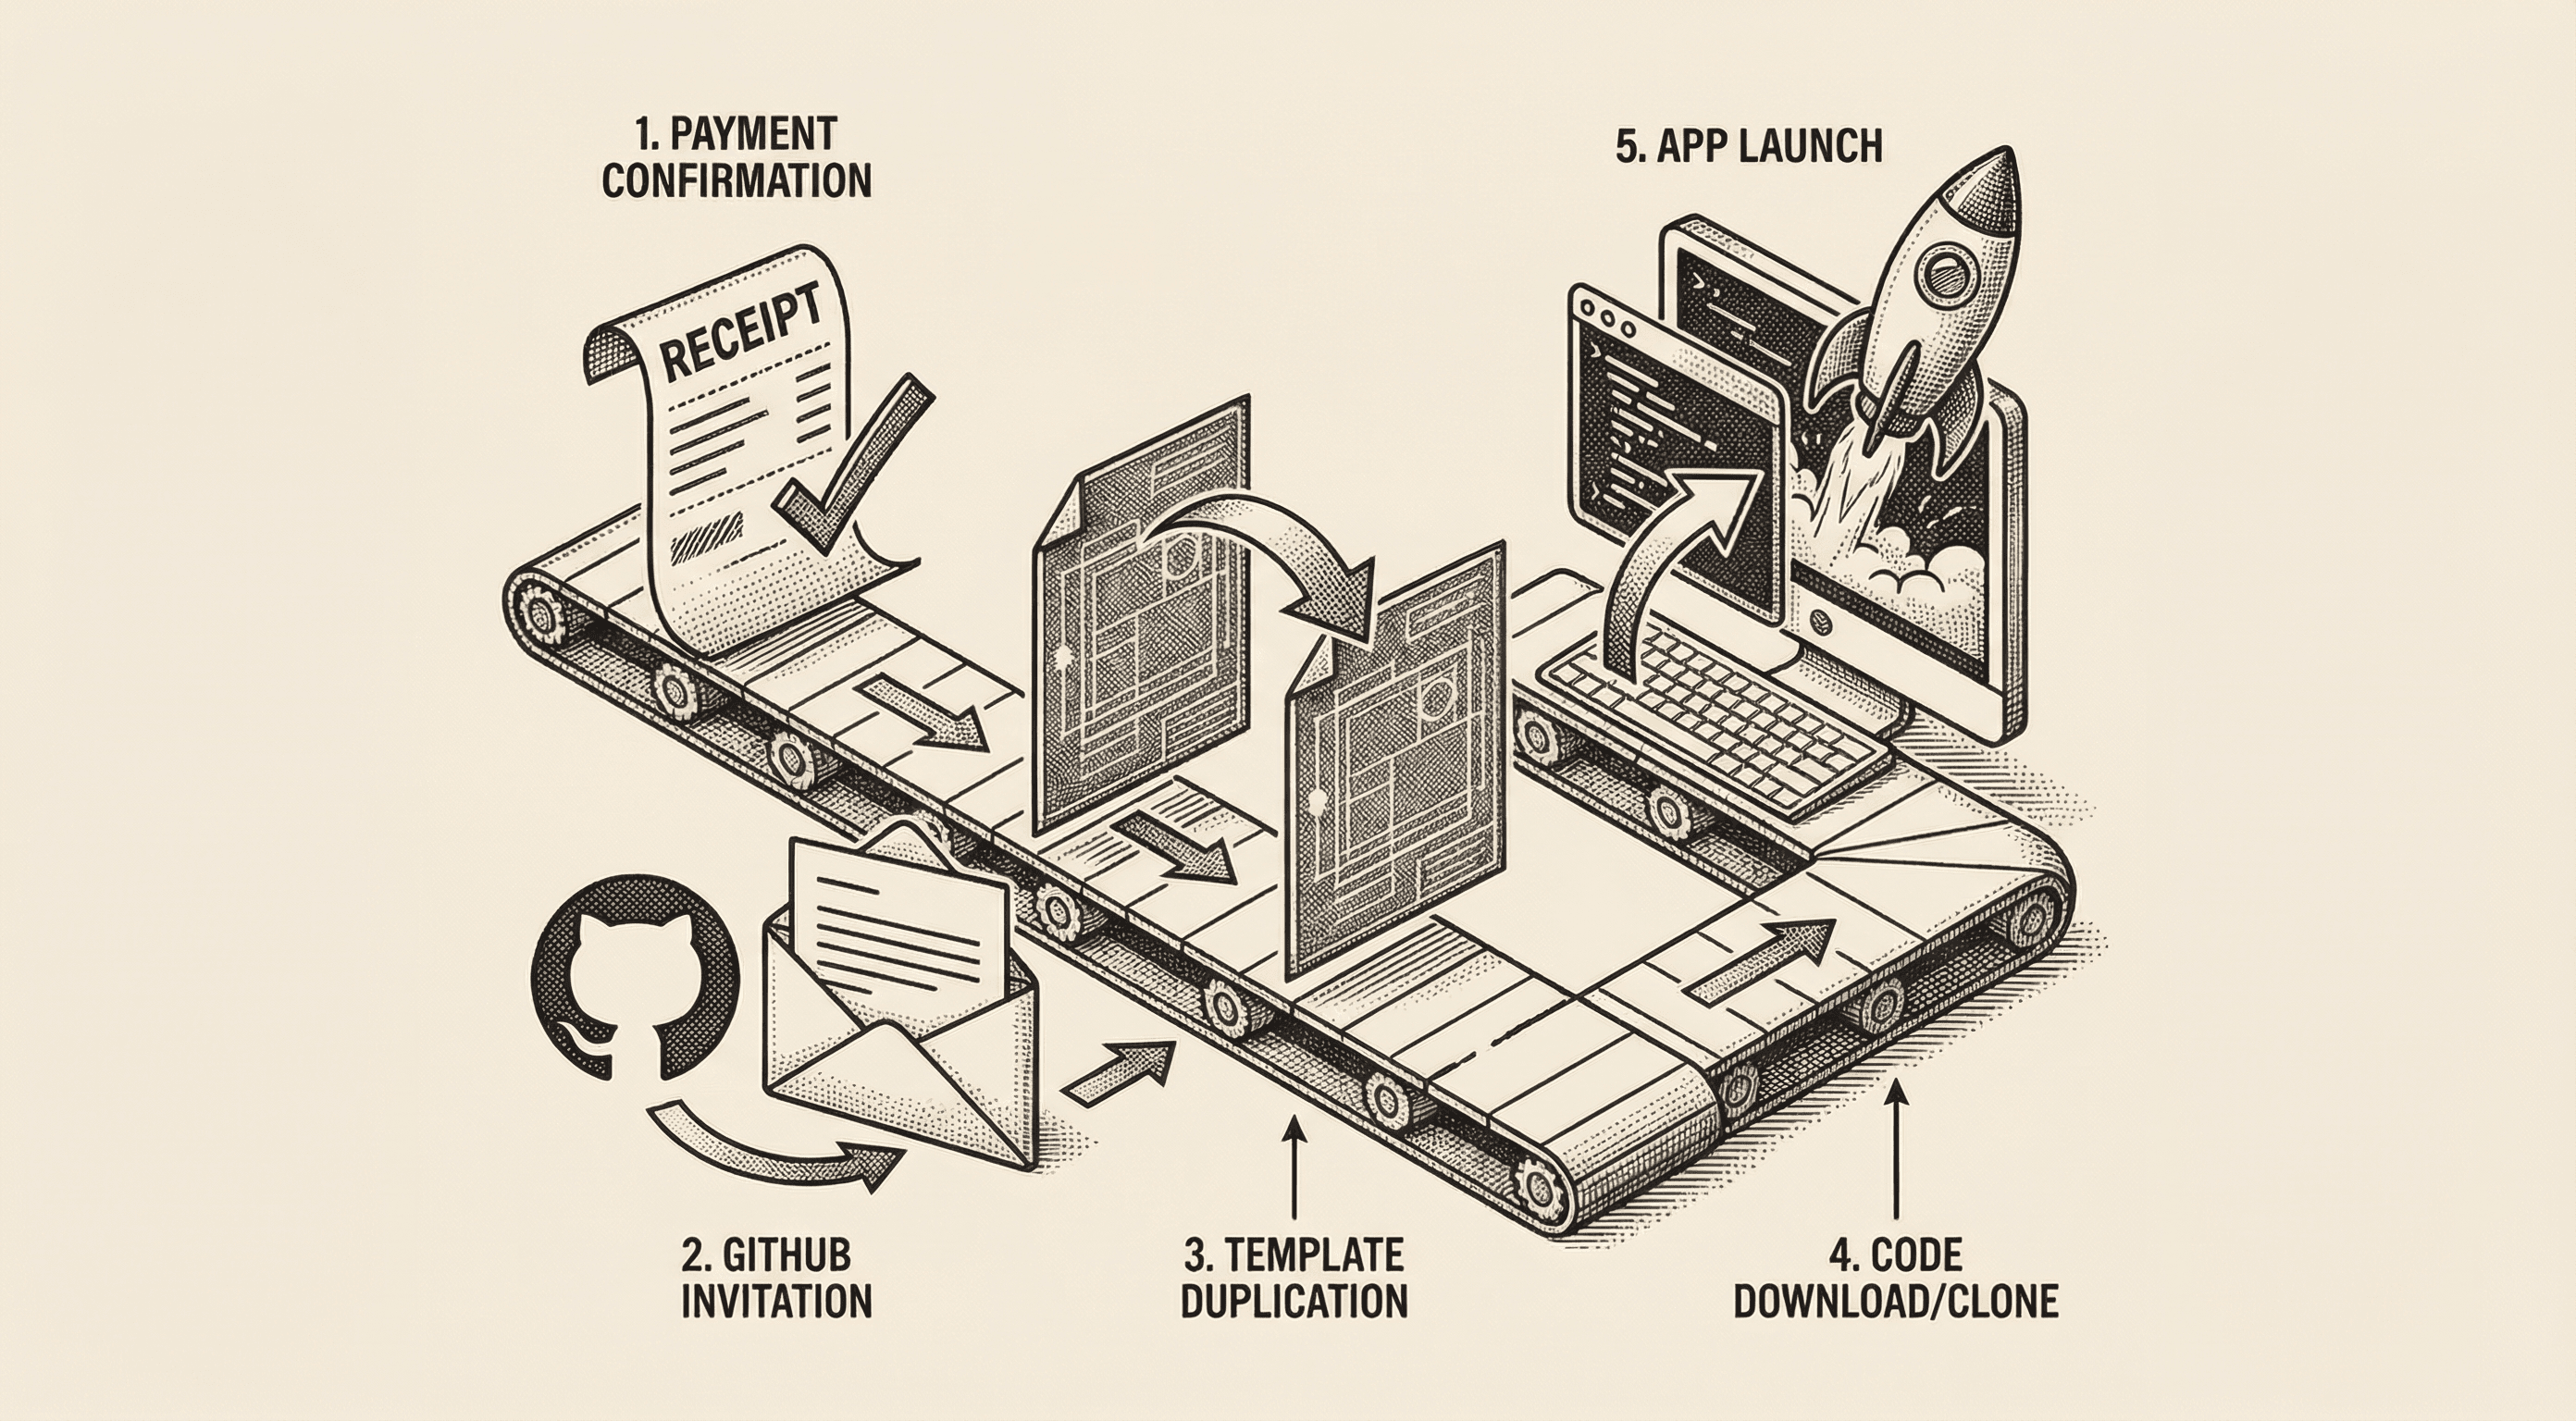
A step-by-step walkthrough of what happens after you purchase the Ship Template. Accept your GitHub invitation, create your own copy of the template, clone it to your computer, and run it locally — all explained in plain English.